This guide shows you how to run structured, collaborative, and action-oriented Start Stop Continue retrospectives using Creately. We’ll walk through how Creately’s visual workspace, real-time collaboration, and AI-powered features help you plan, run, and follow up on retrospectives with less hassle and more impact in 3 simple steps.
Step 1. Preparing for the Retrospective in Creately
Before you start your retrospective, taking a few minutes to set things up in Creately can make the session smoother, more focused, and easier for everyone to contribute. Here’s how to prepare your workspace effectively:
1. Selecting and Customizing Start Stop Continue Templates
Creately offers ready-made Start Stop Continue templates that you can use straight away or tailor to your team’s needs. To get started:
- Click on the “Edit Template” button from the Creately template gallery.
- You can then proceed to edit the template by adding text using sticky notes.
- If it’s an AI Start Stop Continue template, you can choose a style that fits your session (simple layout, AI-assisted board, or a team-specific design).
- Add a prompt or topic to generate relevant content automatically (e.g., “Team retrospective after product launch”).
- Once loaded, you can drag, rename, or color-code sections to fit your workflow or theme.
This saves time and ensures everyone knows exactly where to place their input from the start.
2. Setting Up the Infinite Canvas
Unlike static tools, Creately gives you an infinite canvas — meaning you never run out of space, no matter how many ideas come up. Here’s how that helps:
- You can create clear columns for Start, Stop, and Continue and leave enough space for ideas to expand.
- Group related items as the conversation grows, without feeling crowded or restricted.
- Add side notes, action plans, or supporting visuals anywhere on the canvas to keep everything in one place.
- You can also keep the weekly start stop continue retrospective boards in the same canvas.
The flexibility makes it easy to adapt the board in real time as the session unfolds.
3. Sharing Access and Permissions for Remote and Hybrid Teams
Whether your team is in the office, remote, or a mix of both, Creately makes it easy to collaborate.
- Share the link to your retrospective board with the team ahead of time.
- Set edit or view permissions depending on how you want participants to interact.
- Encourage team members to log in early to test access, especially if it’s their first time using Creately.
- Use email invites or Slack integrations to make sharing even quicker.
Everyone can contribute live or asynchronously, and their ideas will appear instantly on the shared board — no need to pass around documents or juggle different tools.
Step 2. Running the Retrospective with Creately
Once your board is set up, it’s time to bring your team together and start the conversation. Creately’s powerful collaboration features make it easy to capture ideas, organize them meaningfully, and turn feedback into action — all in real time.
1. Real-time collaboration: simultaneous editing and input
Everyone on the team can contribute at the same time — no waiting turns or screen sharing needed. As people add their thoughts, the board updates instantly. This keeps the energy up and gives everyone a voice, whether they’re in the room or joining remotely.
- Great for hybrid and remote teams
- Ideal for fast-paced sessions and brainstorming
- Encourages full participation
2. Using sticky notes, colors, and icons to organize ideas visually
Creately’s built-in sticky notes help you structure feedback under each column (Start, Stop, Continue). You can also use different colors and icons to:
- Highlight themes (e.g., team process, communication, tools)
- Indicate urgency or importance
- Separate feedback from different team roles or departments
This makes it easier to spot trends and discuss what really matters.
3. Clustering and grouping feedback for better insight analysis
As feedback starts coming in, you can group similar ideas by dragging them together on the canvas. This helps:
- Reduce duplicates
- Identify recurring themes
- Clarify focus areas for discussion
You can also add headers or labels to clusters for even more structure.
4. Commenting, reactions, and threaded discussions for detailed input
Rather than interrupting the flow of the session, team members can leave comments directly on sticky notes. This is perfect for:
- Asking follow-up questions
- Clarifying ideas
- Adding quick reactions like 👍 or ❗ to highlight priorities
Threaded discussions keep everything in context and easy to follow.
5. Timeboxing and in-app tools to keep sessions on track
To make the session efficient and focused, use timeboxes to manage each phase — brainstorming, discussion, and planning. You can:
- Set visible timers (you can use Creately’s Microsoft Team integration here to timebox the event)
- Keep each activity focused (e.g., 5 minutes per column, 10 minutes for discussion)
- Use Creately’s clean layout to guide the flow without distractions
This helps avoid dragging sessions and ensures you finish with clear outcomes.
Step 3. Post-Retrospective Actions
The real value of a Start Stop Continue session comes after it ends — when the team actually acts on what was discussed. With Creately, you can easily move from ideas to execution right from the board.
1. Prioritize with built-in voting
After capturing everyone’s feedback, use Creately’s built-in voting feature to identify the most important ideas. It makes prioritization fast, visual, and collaborative — without needing separate tools.
- Turn on voting mode directly within the canvas
- Let team members vote on the sticky notes or items they feel are most impactful
- Set a limit on the number of votes per person to focus attention
- Instantly see which Start, Stop, or Continue actions have the most support
2. Turning feedback into actionable tasks directly on the board
Instead of copying notes into another app, you can turn sticky notes into tasks within Creately itself.
- Drag and drop a note onto a kanban board and convert it to a task card automatically
- Add a description or checklist if needed
- Keep it right where the discussion happened — no switching tools
3. Assigning owners, deadlines, and integrating with external tools
Once tasks are identified:
- Assign owners to each task so it’s clear who’s responsible using the shape’s data field panel
- Add deadlines to keep things moving
- Link with tools like JIRA, Confluence, GitHub, or your existing project system for seamless follow-through
Creately integrates with popular tools so actions stay connected to your overall workflow.
4. Exporting Reports, Summaries & Presenting Outcomes
With Creately, you have multiple ways to showcase and distribute your retrospective outcomes:
- Export the canvas as a PDF, PNG, or CSV to capture everything — notes, tasks, and decisions
- Use presentation mode to walk through each section live with stakeholders, highlighting key points clearly and visually
- Upload exports to shared drives, share them in Slack, or attach to tools like Confluence for easy access and documentation
5. Using version history to track changes and improvements over time
Creately automatically saves every version of your board, so you can:
- Revisit past retrospectives
- Compare changes and see what’s improved
- Keep a documented trail of your team’s growth
It’s a great way to build a culture of continuous improvement with real evidence to back it up.
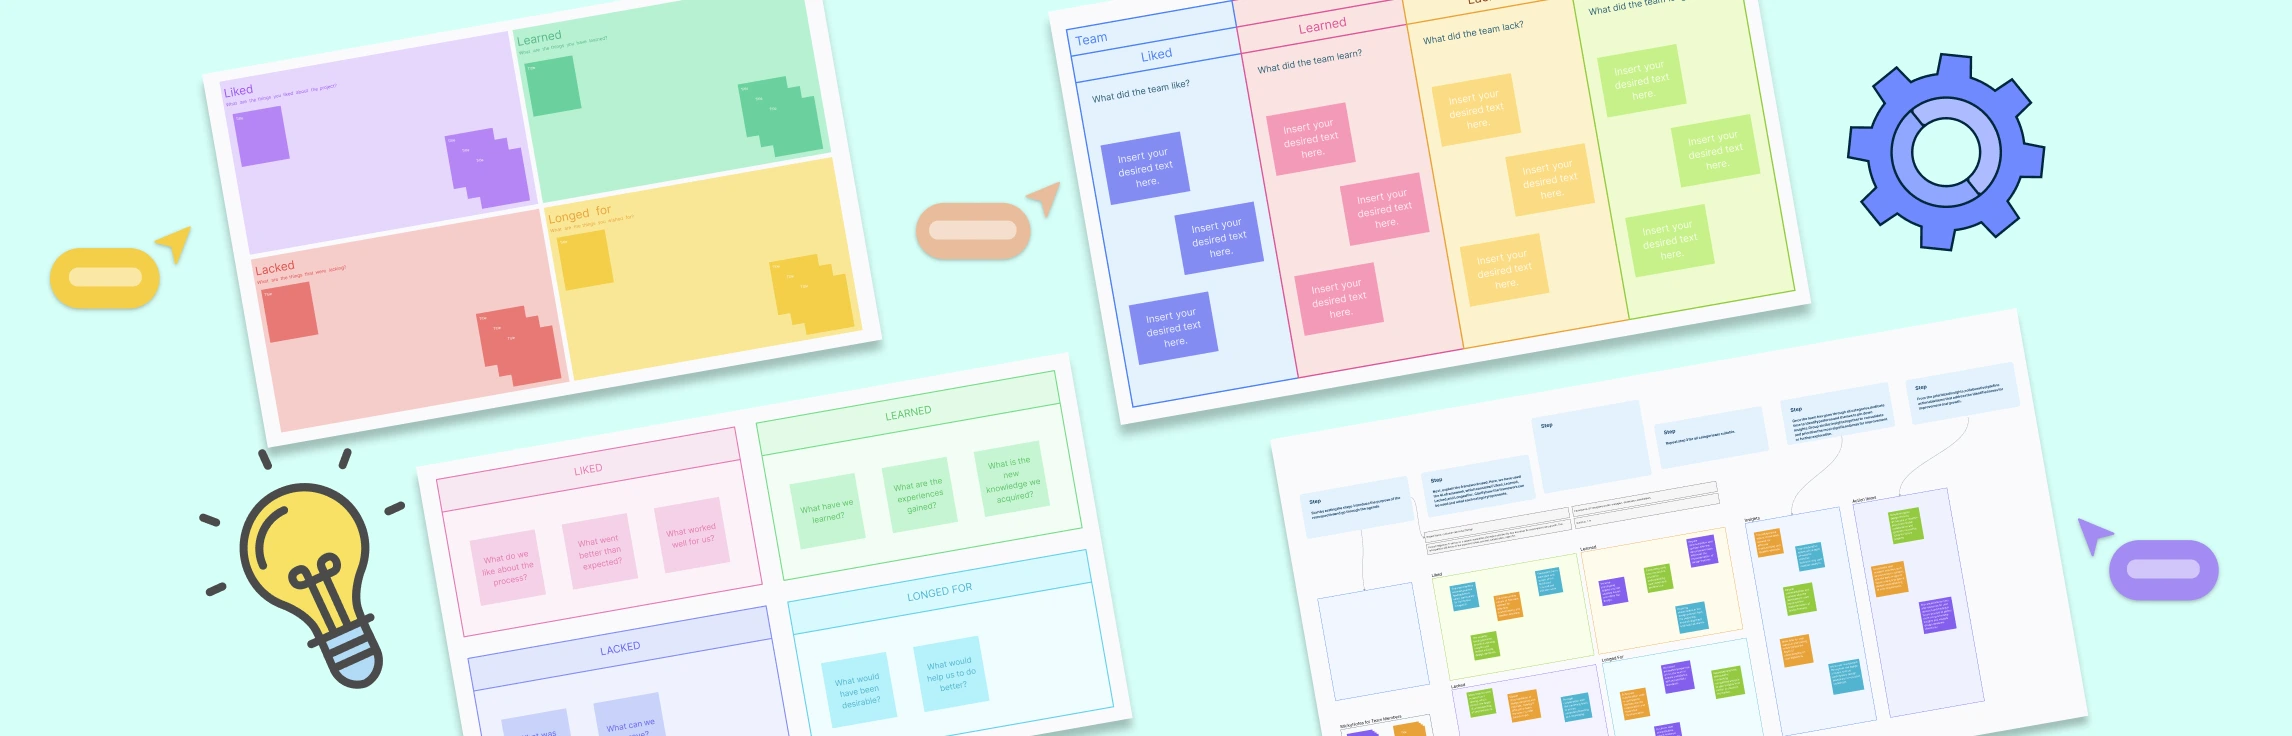
Creately Start Stop Continue Templates to Get a Head Start
Start, Stop, Continue Workspace


Start Stop Continue Example for Personal Development

Start Stop Continue Example for Managers

Start Stop Continue Example for Remote Teams

Blank Start Stop Continue Template

Leveraging Creately AI for Faster Retrospectives
Creately’s built-in AI helps you speed up your Start Stop Continue retrospectives — without losing depth or clarity. It removes the hassle of setup and gives your team a running start.
1. Generate a complete board in seconds
Just click “Edit Template”, choose a style, and describe your focus — like “team health check” or “post-sprint review.” Creately AI instantly creates a full retrospective board with Start, Stop, and Continue columns, sample prompts, and space for input.
2. Smart suggestions to organize feedback
As your team adds their thoughts, AI can also help:
- Group similar ideas automatically
- Spot common themes
- Suggest improvements or next steps
This makes the session smoother and helps you focus on what really matters.
3. Automate follow-ups with smart assistance
Streamline follow-up actions by:
- Summarizing key points from your retrospective to highlight priorities
- Converting feedback into diagrams such as Kanban boards, action plans, or flowcharts with just a few clicks
Best Practices for Technical Teams Using Creately
Technical and cross-functional teams can get even more value out of Creately by leveraging some of its more advanced capabilities. Here are a few tips to help you get the most out of your retrospectives:
Maximize productivity with Creately’s technical features
- Use layers and frames to manage complex boards without clutter.
- Set up linked views or reference diagrams to connect related work (like sprint goals or incident logs).
- Create reusable templates for recurring retrospectives — saving time and standardizing structure.
Manage large or distributed teams efficiently
- Break participants into parallel canvases or use frame-based areas to allow smaller groups to contribute before merging insights.
- Use real-time cursors and @mentions to facilitate interaction in hybrid or remote settings.
- Keep engagement high by enabling voting, reactions, and live comments during sessions.
Security and compliance for sensitive retrospectives
- Creately supports SOC 2 Type II compliance and SSO support for enterprise accounts.
- Use role-based access controls to manage who can view, edit, or comment on retrospectives.
- All data is encrypted and stored securely, making Creately suitable for confidential sessions involving people, processes, or incidents.