A design sprint is a structured, time-bound process that helps teams solve complex problems and test ideas quickly. Breaking the sprint into clear phases ensures that every step—from understanding the problem to validating solutions—is purposeful and focused. In this guide, we’ll dive deep into each design sprint phase, explaining the key activities, recommended tools and templates, and practical tips to make each phase effective.
What Are Design Sprint Phases (The Origin)
Design sprint phases are the different steps teams follow to solve problems and test ideas quickly—usually in just five days. Think of them as a roadmap that takes a challenge from “what if” to a tested solution.
The concept comes from Google Ventures, where Jake Knapp and his team created a structured process to help startups innovate faster. By breaking the sprint into clear phases, teams can focus, stay organized, and reduce the risk of building something users don’t need.
Following these phases matters because it turns chaos into clarity. Instead of guessing what might work, you go step by step—understanding the problem, brainstorming solutions, picking the best ideas, building a prototype, and testing it with real users. This way, your team learns fast and makes smarter decisions.
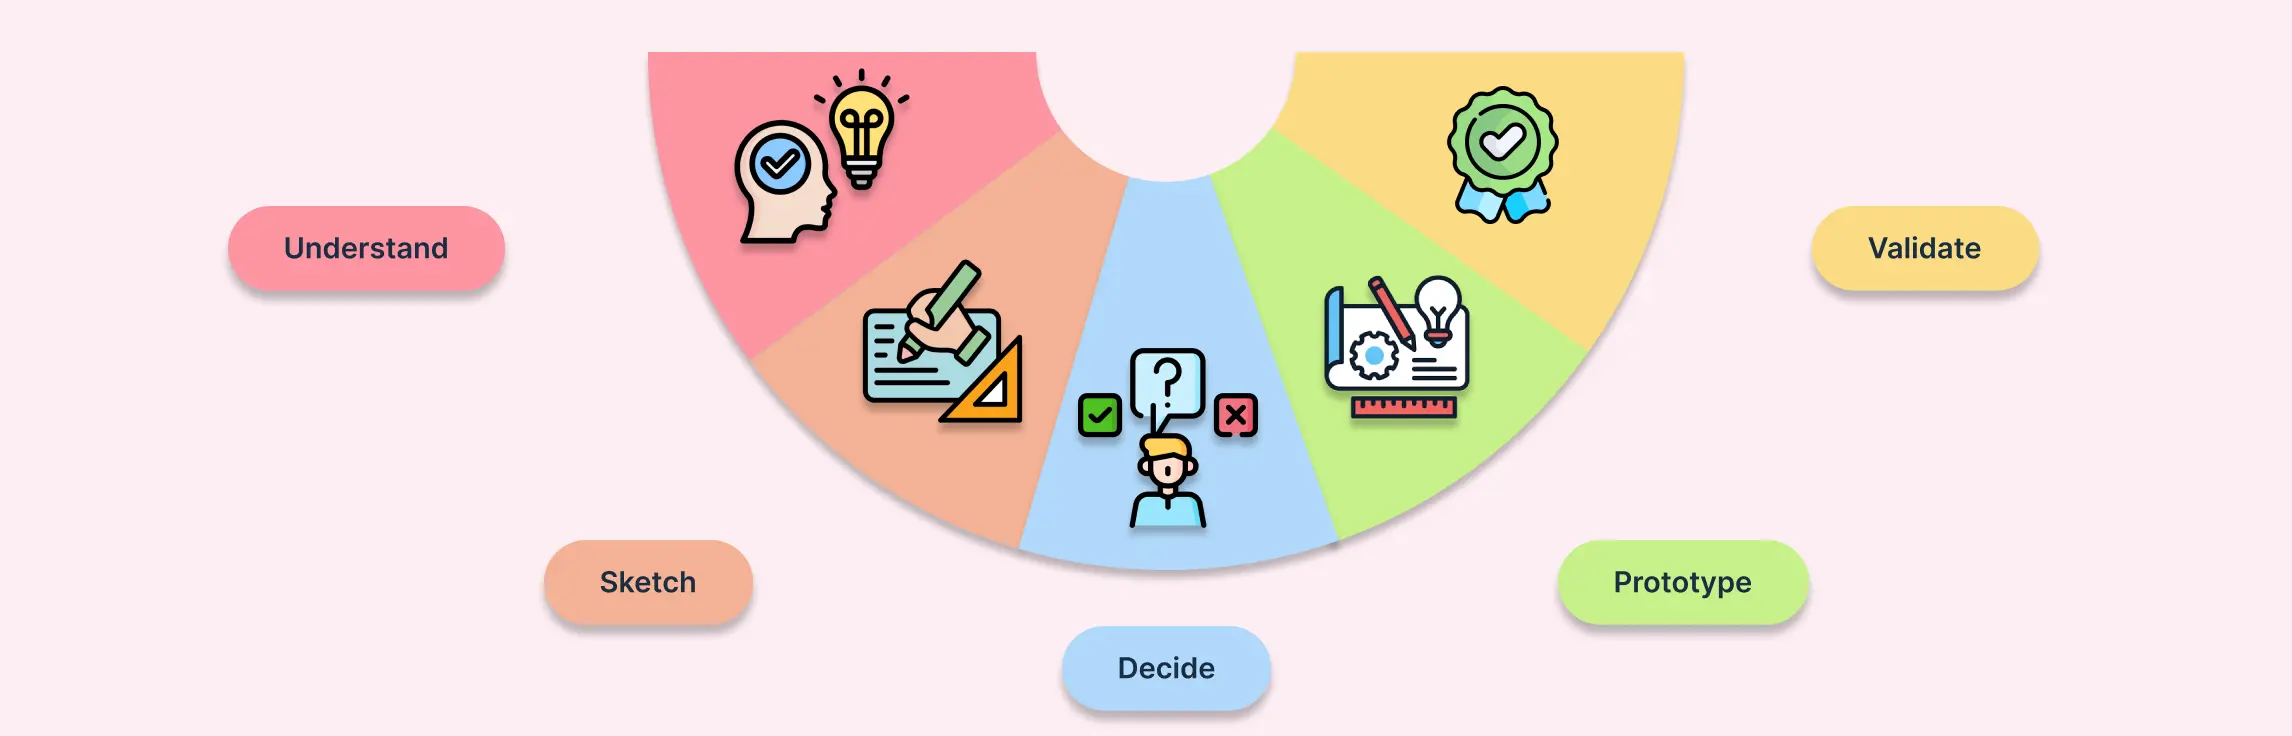
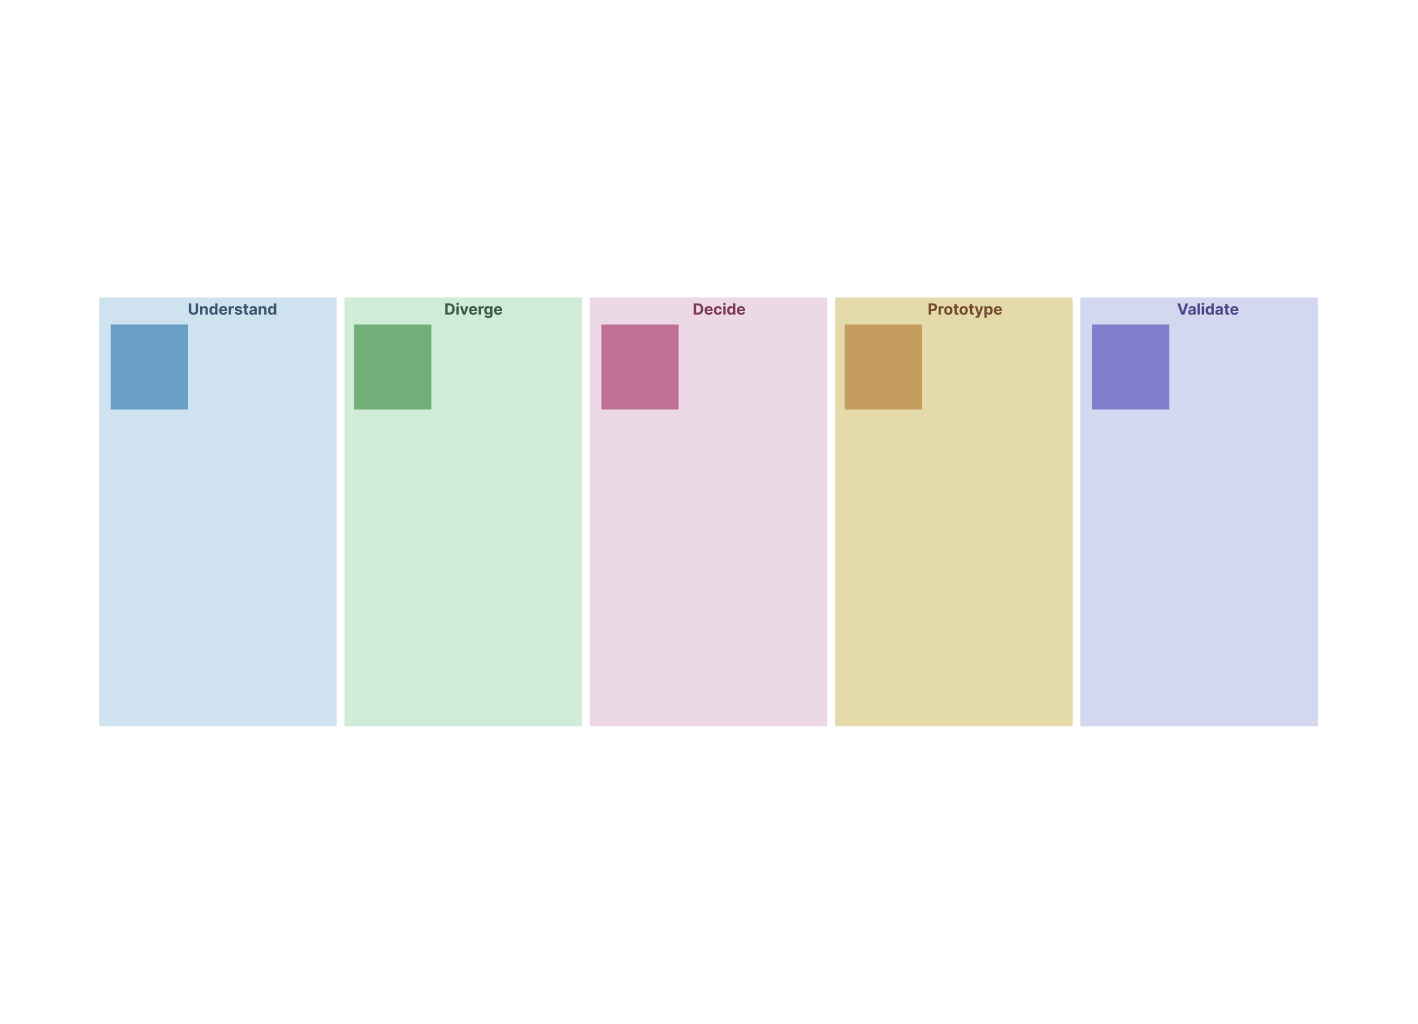
What Are the 6 Phases of the Design Sprint
Phase 1: Understand
The first phase is all about getting a clear view of the problem before jumping into solutions. The team works together to:
Define the challenge: Clarify the long-term goals and what success looks like.
Gather insights: Conduct research, review existing data, and interview experts to understand the problem from multiple angles.
Map the user journey: Visualize how users currently interact with your product or service, highlighting customer pain points and opportunities.
Tip: Encourage the team to ask “why” multiple times to uncover the root of the problem. A well-defined understanding phase sets the stage for a successful sprint.
Recommended visual tools:
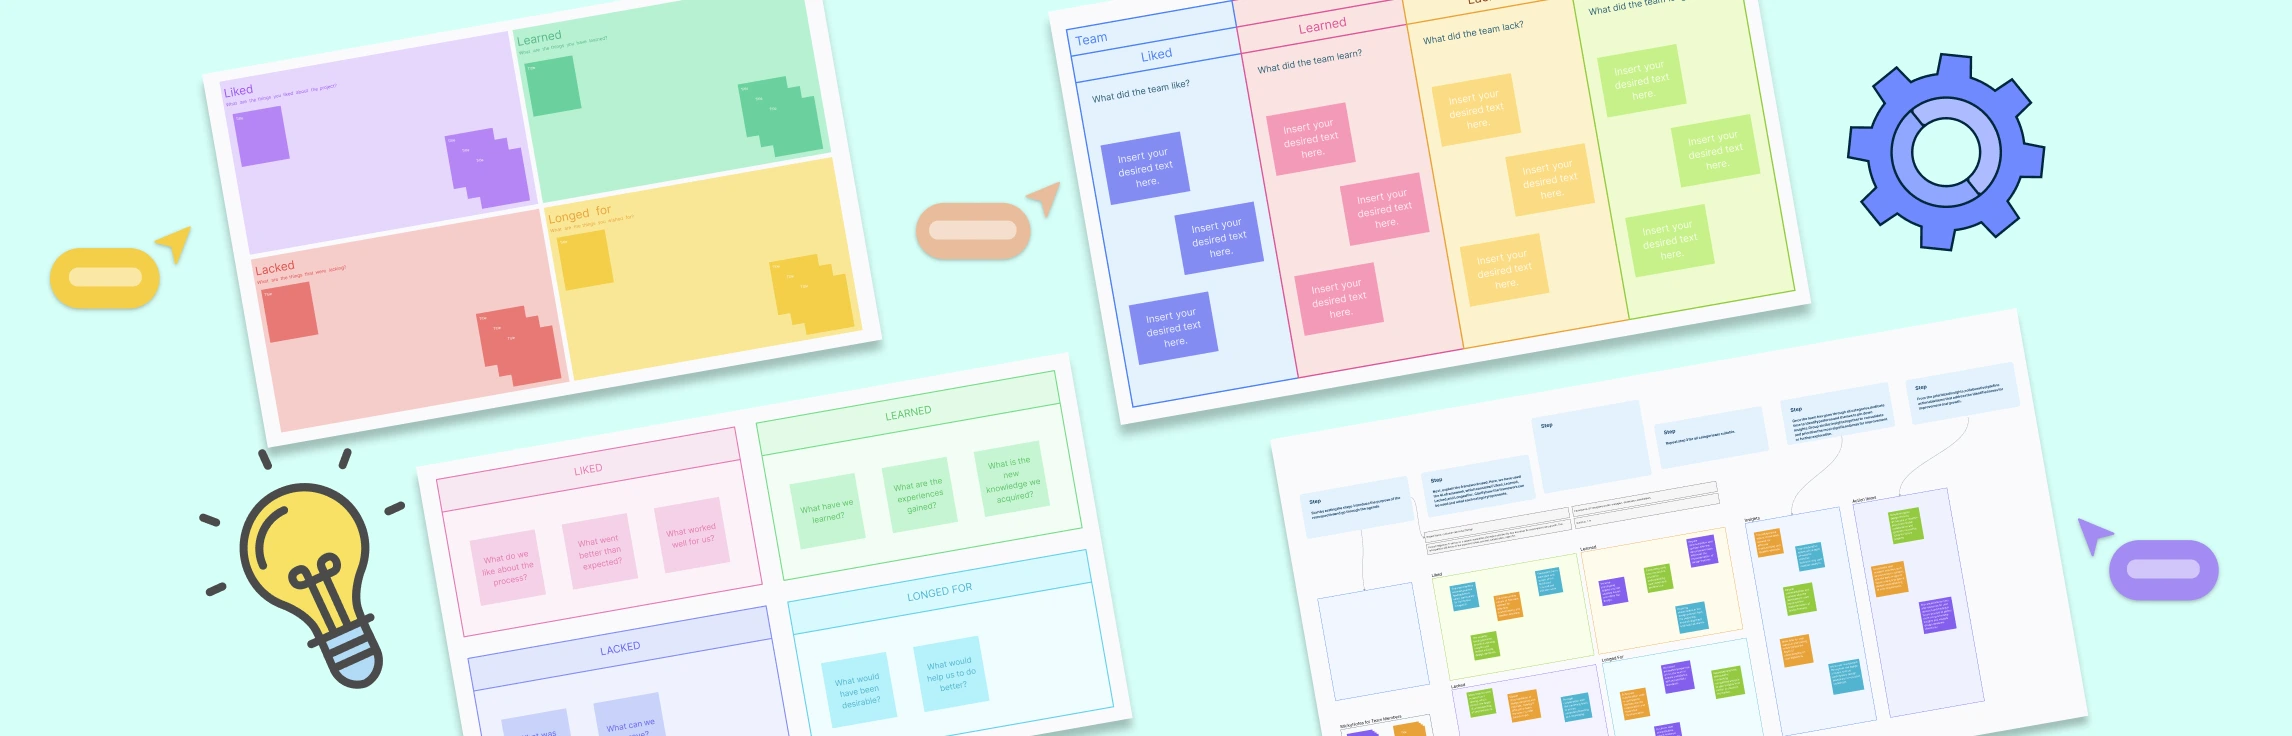
User journey map: A visual representation of the steps a user takes while interacting with your product or service. It highlights pain points, emotions, and opportunities at each stage. Teams use it to see the big picture of the user experience, identify problem areas, and uncover opportunities for innovation.


Empathy map: Divides user insights into four categories: what users say, think, feel, and do. This helps teams step into the user’s perspective, understand motivations and frustrations, and make decisions grounded in empathy rather than assumptions.

Stakeholder map: Illustrates all the key people or groups who influence or are affected by the problem. It shows their roles, influence, and relationships, helping teams understand constraints and opportunities when designing solutions.

Phase 2: Define
Once the problem is understood, this phase focuses on narrowing down and framing it clearly. Key steps include:
Crafting a problem statement: A concise sentence that defines what you are solving and for whom.
Identifying assumptions: Recognize what you don’t know and what could impact your solution.
Formulating sprint questions: These guide the team’s focus, helping ensure the solutions address the most critical challenges.
Tip: Keep the problem statement user-centered—focus on what the user needs, not just what the team wants to build.
Recommended visual tools:
Problem statement template: A concise statement describing the challenge, who it affects, and the desired outcome. It keeps the team aligned and ensures everyone is solving the same problem.

How Might We (HMW) cards: These convert challenges into opportunity-focused questions, like “How might we make the onboarding process easier?” HMW cards encourage creativity and guide ideation toward actionable solutions.

Assumption board: A visual board that lists assumptions and unknowns about the problem, users, or solution. During later phases, these assumptions become hypotheses to validate, reducing risks and guiding prototype development.

Phase 3: Ideate
This is the creative phase, where quantity and diversity of ideas matter more than perfection. Activities include:
Brainstorming solutions: Encourage everyone to contribute ideas, even unconventional ones.
Sketching concepts: Translate ideas into rough visual representations.
Lightning demos: Look at how others have solved similar problems for inspiration.
Tip: Use “yes, and…” thinking to build on each other’s ideas and avoid shutting down creativity.
Recommended visual tools:
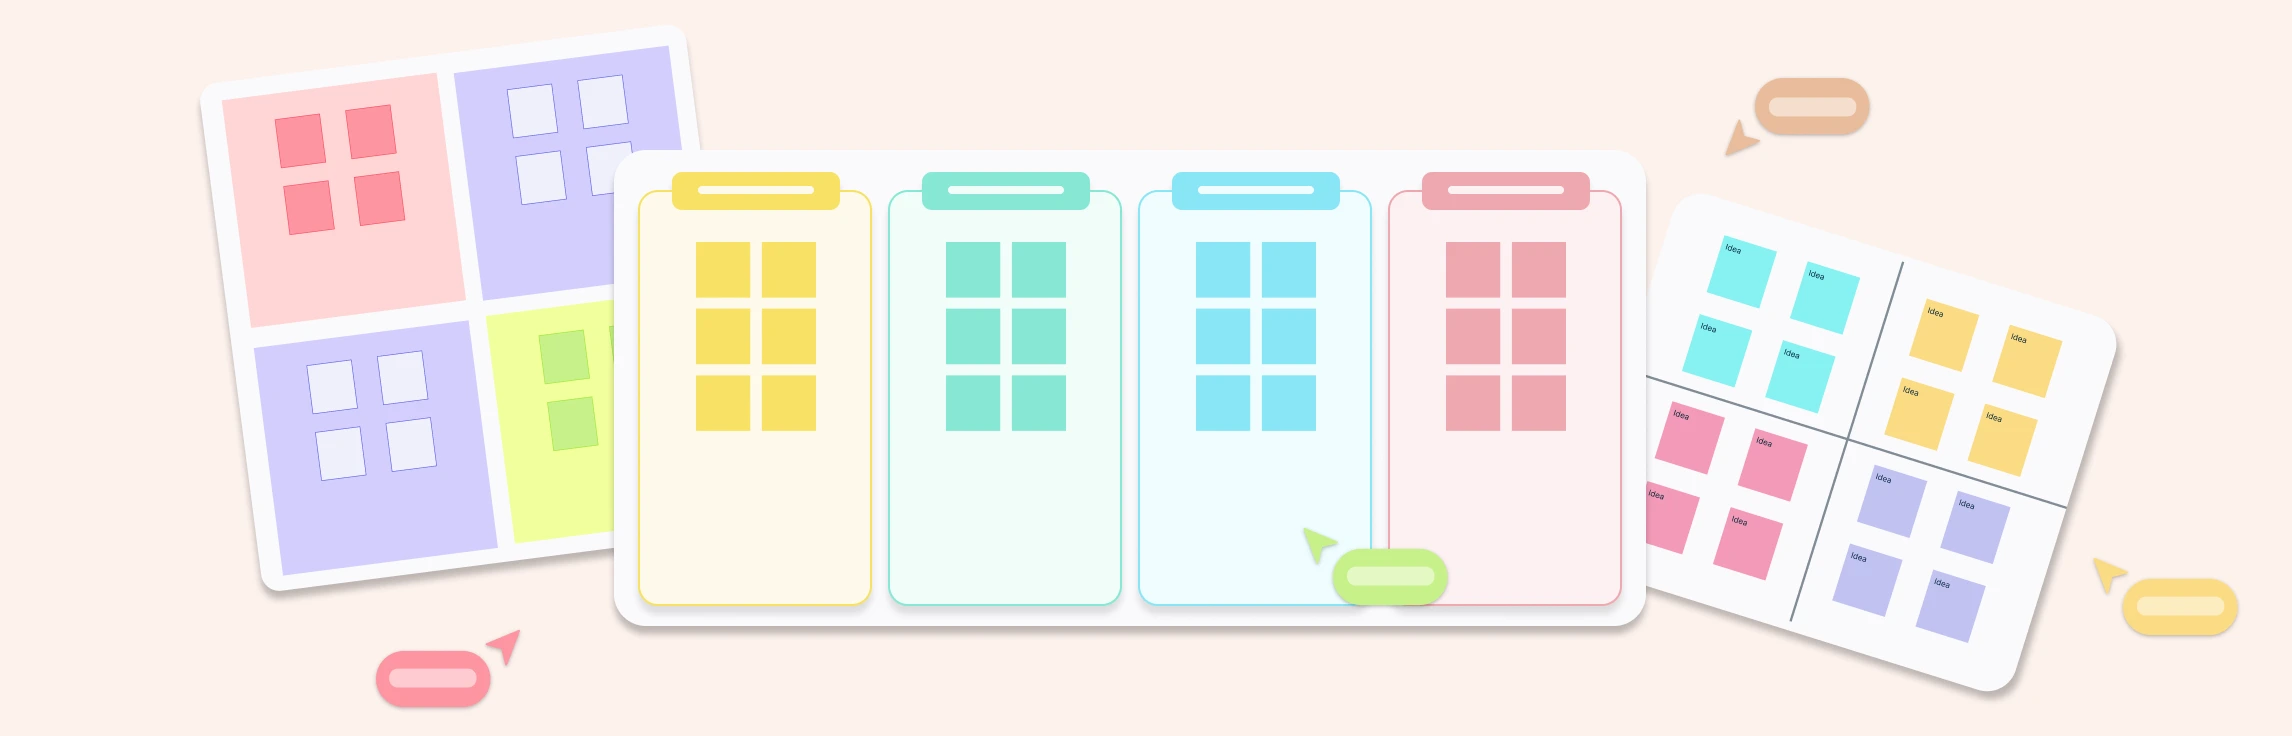
Crazy 8s sketch template: A fast-paced sketching exercise where team members create eight rough ideas in eight minutes. This encourages quantity over quality, sparks creativity, and surfaces ideas that might not emerge in traditional brainstorming.

Brainstorming boards: Digital or physical boards where all ideas, sketches, and inspiration can be posted collaboratively. They make it easy to see the full range of concepts, cluster similar ideas, and spark new thoughts.

Idea prioritization matrix: A visual tool that plots ideas along axes like impact vs feasibility. It helps the team identify which ideas are worth pursuing first, balancing ambition with practicality.

Phase 4: Decide
In this phase, the team selects the best ideas to prototype. It involves:
Reviewing ideas: Critique solutions based on feasibility and impact.
Decision-making tools: Use dot voting, decision matrices, or team discussions to converge on the strongest options.
Storyboarding: Map out step-by-step how the chosen solution will work in practice, creating a blueprint for the prototype.
Tip: Involve a “Decider” (usually a product lead or stakeholder) to make final calls and avoid endless debates.
Recommended visual tools:
Decision matrix: A table comparing solutions against predefined criteria such as impact, feasibility, or user value. Scores help the team make objective decisions rather than relying solely on opinion.

Storyboard template: A visual sequence showing how a user will interact with the chosen solution. Each frame represents a step in the user journey, helping the prototype team understand context, flow, and key interactions.

Impact/Effort grid: Places ideas into quadrants based on expected impact and required effort. It helps the team prioritize high-value, low-effort ideas for prototyping first.

Phase 5: Prototype
Here, the focus is on building a tangible version of the solution quickly:
Create a prototype: Build a realistic model that’s just detailed enough to test key assumptions.
Prioritize functionality: Only include the elements needed to test hypotheses, not a fully polished product.
Prepare for testing: Ensure the prototype can be presented to users clearly, so feedback will be meaningful.
Recommended visual tools:
Low-fidelity wireframes: Basic sketches or simple digital layouts of the solution’s screens or interfaces. They allow the team to explore design and structure without spending time on details, making iteration fast and low-risk.

Clickable prototypes: Interactive mockups that users can click through the flow as if it were real, helping test navigation, interactions, and usability before building the final product.

Rough and ready prototype template: A fast, low-fidelity template to quickly turn ideas into testable prototypes. It focuses on core functionality and user flow rather than polished visuals. Teams can sketch screens or workflows, test assumptions with real users, and iterate quickly based on feedback.

Phase 6: Validate
The final phase is about testing assumptions and gathering real-world feedback:
User testing: Have real users interact with the prototype while observing their behavior.
Collect insights: Note what works, what confuses users, and any unexpected issues.
Decide next steps: Based on feedback, plan iterations, improvements, or new directions.
Tip: Focus on learning, not proving your idea right. Validation is about uncovering insights that will guide future decisions.
Recommended visual tools:
Feedback capture board: A visual board to document user reactions, observations, and quotes. It helps the team spot patterns, highlights issues, and tracks insights in one place.

Affinity diagram: Groups feedback into clusters or themes. By organizing observations visually, teams can quickly identify major patterns, pain points, and areas for improvement, making it easier to prioritize next steps.

Streamline Your Design Sprint with Creately’s AI Template
Creately’s AI-powered Design Sprint template helps teams move through all six phases—Understand, Define, Ideate, Decide, Prototype, and Validate—faster and smarter.
Key Features:
Pre-built phase layouts for each sprint step.
AI suggestions for problem statements, HMW questions, and idea prompts.
Integrated templates like journey maps, storyboards, and Rough and Ready Prototypes.
Collaboration tools for real-time editing, commenting, and voting.
Easy export to PDF, PNG, or SVG for presentations.
Bonus templates to get started fast
5-Day Design Sprint

Design Sprint Template for Software Product Launch

FAQs About Design Sprint Phases
How long does each phase take?
What are common mistakes to avoid during design sprint phases?
Can the design sprint phases be shortened or extended?
Do all team members need to participate in every phase?
How do design sprint phases improve team collaboration?
How do you measure success in each phase?
Is it necessary to follow the phases in order?