A timeline is a simple but powerful way to show how events unfold over time, whether you’re mapping a project plan, telling a historical story, or tracking milestones for a presentation. By laying information out in chronological order, timelines make complex sequences easier to follow at a glance. In this guide, we’ll walk you through everything you need to know on how to make a timeline. From gathering your information to choosing the right layout and styling your timeline for impact, you’ll learn step by step how to make your timelines both informative and easy to understand.
How to Make a Timeline
You might think drawing a timeline is straightforward—but creating an effective one takes more than just plotting dates. You’ll need to plan wisely, structure clearly, and design thoughtfully for your audience to truly understand the story you’re telling.
Follow the steps below to draw a timeline:
- Gather the information you need
- Create an outline of the timeline
- Pick a layout for your timeline
- Style your timeline and add images
We’ve broken down the steps to building a timeline to make it easier for you. Let’s dig in.
Step 1: Gather the information you need
Whether it’s a project timeline, an agenda or an outline of a historical event for your school assignment, you need to first have an idea about the details you will represent with your timeline. Now, usually, the timeline depicts dates, time, location, etc. You can add additional details (i.e. a description of the event) depending on your purpose. The richer your raw data, the better your visual will be.
As such, gather enough data on the event you are covering with your timeline before starting it. Talk to your colleagues, teachers, or browse the internet, etc. Gather more than you think you’ll use—later you’ll filter. Also look for dependencies or connections (especially for project‑type timelines).
Creately Tip: Import your collected details into a Creately table or note panel on the canvas. This makes filtering, rearranging, and converting information into timeline elements much easier.
Step 2: Create an outline of the timeline
Start by creating a rough outline to help guide yourself through the process. This step will help you filter and list the key details from the research content from the previous step. There are a few essential components your timeline should depict; dates, event name, event description and an image(optional).
- Identify the key events with important dates/ time, locations, people’s names, etc.
- Pick a start and end date and list the events in between, in chronological order
Outline gives you clarity on how many events you have, how much space each might need, and whether you have dependencies or milestones you need to highlight.
Creately Tip: Use sticky notes or grouped shapes in Creately to quickly outline events. Drag and reorder them on the infinite canvas until the structure feels right before committing to a final layout.
Step 3: Pick a layout for your timeline
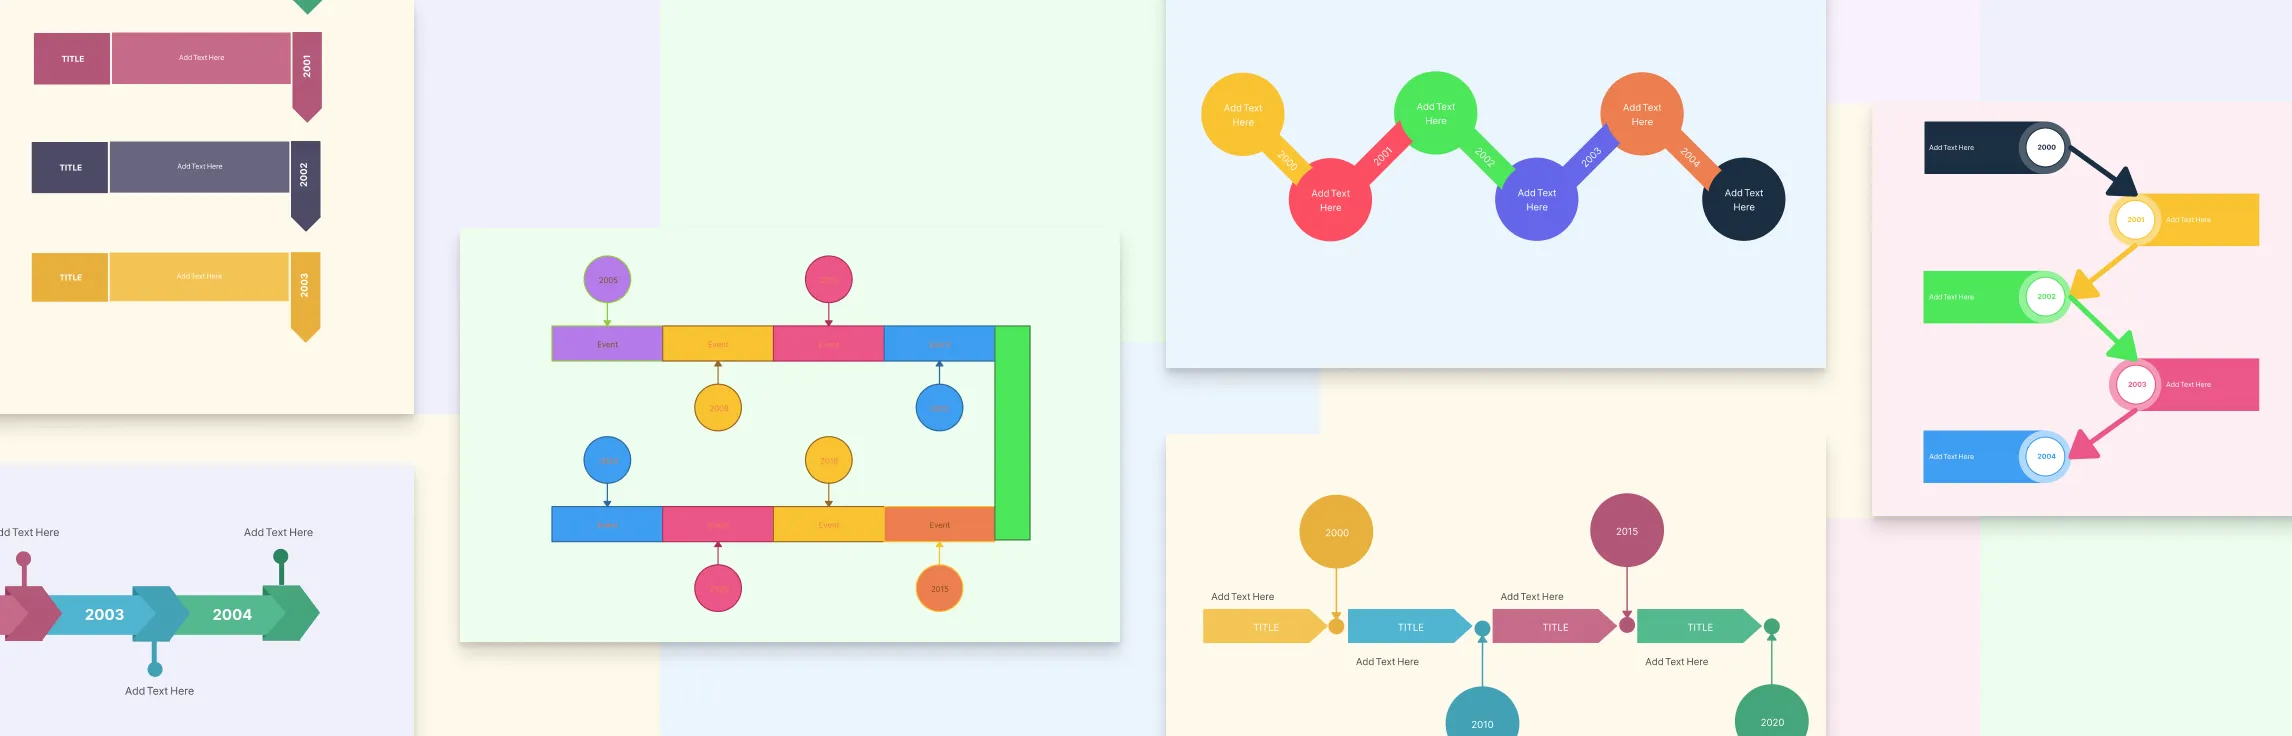
Here, you can start right away with one of the Creately templates, or draw one from scratch. There are 3 types of timelines you can choose from; vertical, horizontal and snake. The layout you select should differ based on a number of points, the length of the description and the addition of images.
Vertical layout: Use this type when you have too many points to highlight. Since it’s always easier to scroll down than to the side, you can extend the vertical timeline with each addition of points. Plus it leaves plenty of room to add graphics as well. Your vertical timeline can be left-aligned (better with longer descriptions) and centered (works great for adding graphics).
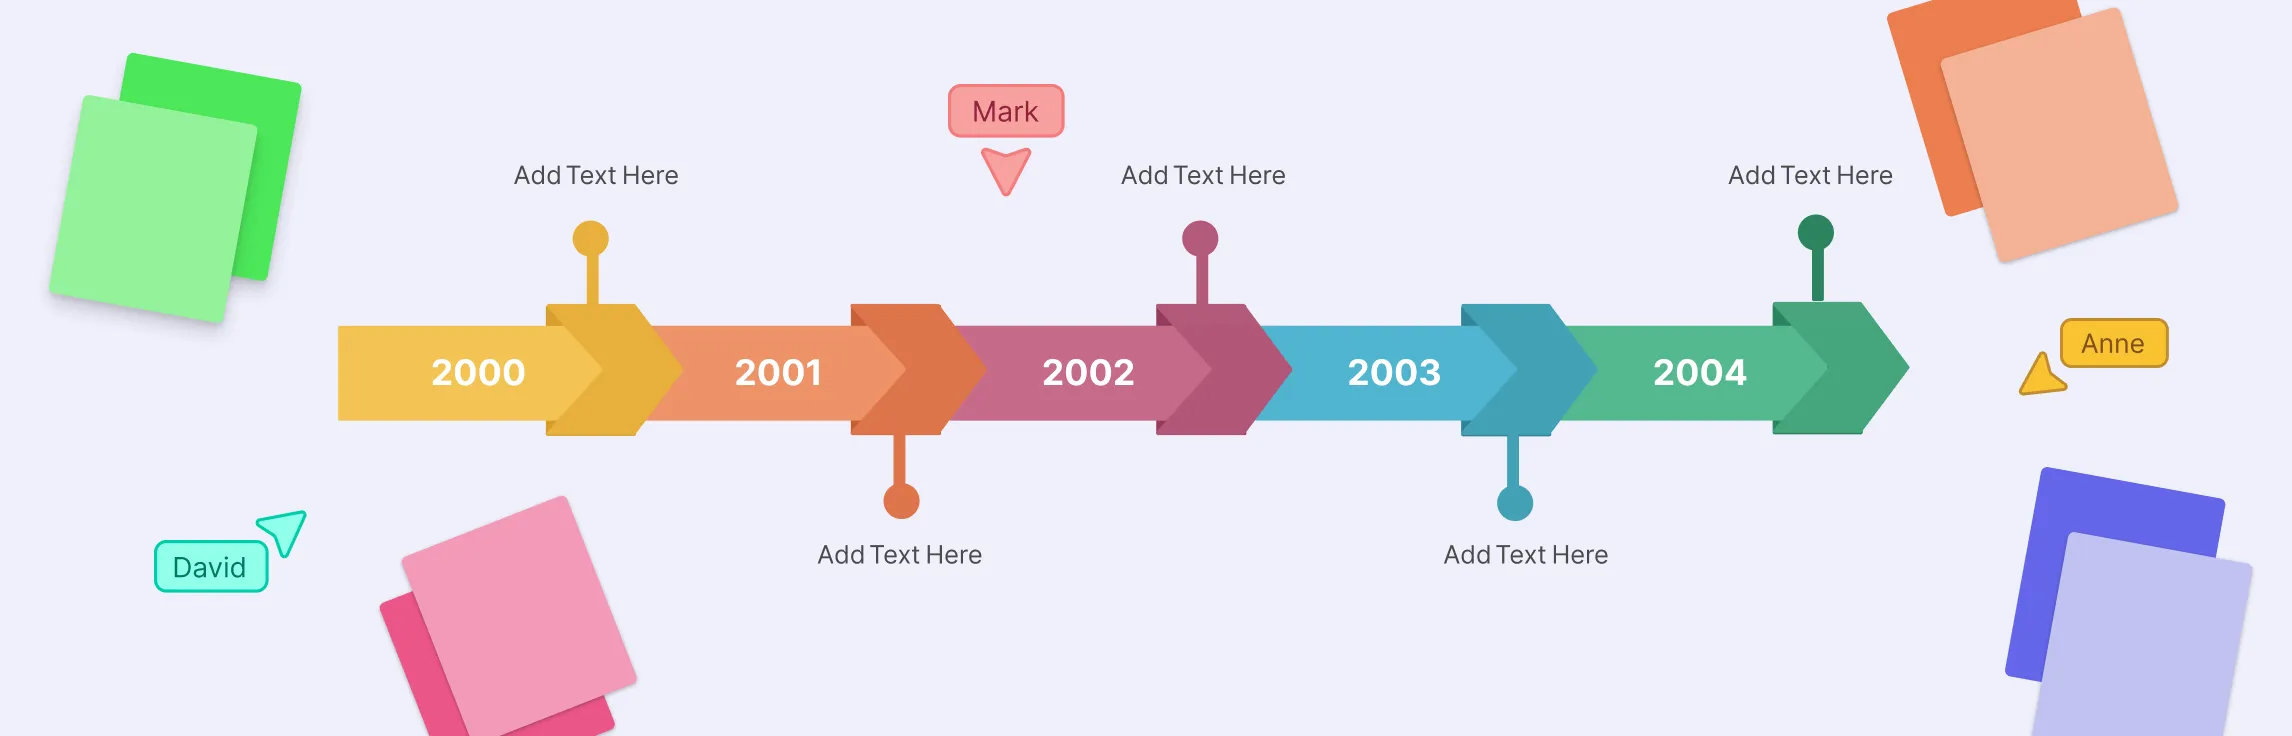
Horizontal layout: You can use this layout when you have fewer points on your timeline. And it’s the most suitable type of layout for presentation slides.
Snake layout: This type works great with many points and little text. If you prefer to keep your timeline fit on a single page, you can use the snake layout instead of the vertical timeline. Plus it has room to add images as well.
You can use the timeline outline from the previous step to decide which layout would be more suitable for you based on the amount and length of text.
Draw your baseline (horizontal or vertical).
Place the start date at the beginning and end date at the opposite end.
Add the major events at appropriate points along the line, maintaining spacing proportional to time or significance (if you choose to reflect scale).
Keep descriptions brief—timelines are about readability and clarity, not long paragraphs.
Creately Tip: Choose from pre-built timeline templates in Creately and switch layouts instantly. You can convert a horizontal timeline to a vertical one with simple drag-and-drop adjustments on the infinite canvas.
Step 4: Style your timeline and add images
Now you bring your timeline to life with visual design. Key aspects include:
Color themes: Use consistent colors to group related events or emphasise milestones vs. regular events. This aids readability.
Images/icons: Adding visuals helps anchor events in the viewer’s memory. Use photos, icons or logos. But don’t overload—too many visuals can distract.
Fonts and spacing: Choose clear, legible fonts; ensure there is enough white space so the timeline doesn’t feel cramped.
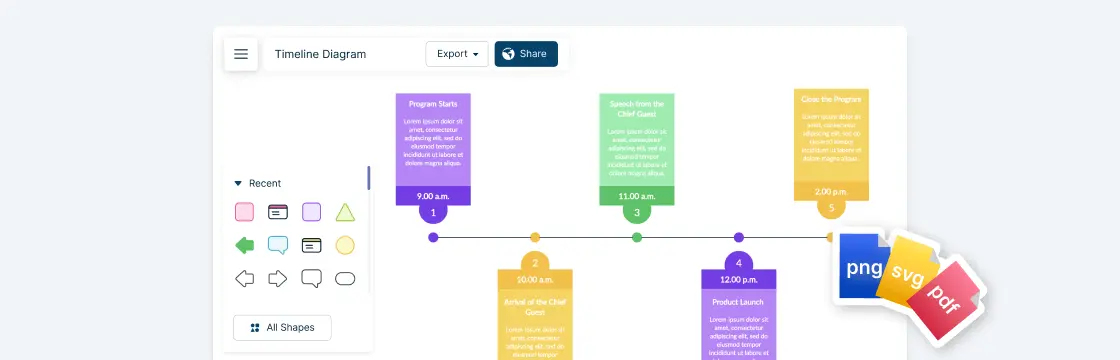
Export/share options: Make sure you can output your timeline in a format suitable for the audience (print, web, presentation). Many tools let you export as PNG, PDF, SVG.
Review and adjust: Once you have a draft, step back and check if the timeline tells the story clearly. Does the flow make sense? Are the intervals logical? Are important events standing out? Good guides emphasise that timelines aren’t static—adjust as needed.
Creately Tip: Apply brand-ready color themes, drag in icons from the built-in library, and export your timeline in PNG, SVG, or PDF directly from the canvas. Use comments and real-time collaboration to refine the design with your team.
Tips for Creating Timelines
Now that you know how to do a timeline, let’s look at some simple tips to make yours stand out.
Start with the big moments: Focus on the key events or milestones that really matter. Too many details can clutter your timeline and make it harder to follow.
Keep it in order: Make sure everything follows a clear, chronological flow. It sounds obvious, but getting the sequence right is what makes your timeline easy to understand.
Pick the right layout: Choose a horizontal timeline for simple sequences or a vertical one if you’re short on space. Circular or roadmap styles are great if you want something more visual or creative.
Use visuals wisely: Colors, icons, and images can make your timeline more engaging — just don’t overdo it. Stick to a consistent style so it looks clean and professional.
Label clearly: Add short, meaningful labels or descriptions so viewers instantly know what each event represents.
Leave some breathing room: Give each milestone enough space. A crowded timeline can feel overwhelming and hard to read.
Test it out: Show your timeline to a colleague or friend before finalizing it — if they can easily follow the flow, you’re on the right track.
Why Choose Creately to Create Your Timeline
Creating a timeline can be simple, but making one that’s clear, professional, and visually engaging takes the right tools. Creately makes this process fast, intuitive, and collaborative, making it easily the best way to create a timeline.
1. Ready-to-use free timeline templates
Skip the blank canvas anxiety. Creately offers a wide variety of timeline templates, including vertical, horizontal, and snake layouts. You can start with a template and customize it to your needs, saving hours of design work.
2. Easy customization
Creately’s drag-and-drop interface makes styling your timeline effortless. You can:
Change colors, fonts, and shapes with just a few clicks
Resize and reposition events or milestones
Add images, icons, or logos directly from your device or the built-in image search
3. Collaboration in real time
Working on a project with a team? Creately allows multiple users to edit and comment in real time, ensuring everyone stays aligned. Share a link or embed your timeline in presentations, documents, or Slack channels.
4. Smart features for accuracy and speed
Auto-align and snap-to-grid ensures your timeline looks polished and professional
Connectors and relationships make it easy to show dependencies between events
Version control helps track updates, so you always know what changed and when
5. Flexible export and sharing options
Once your timeline is ready, you can export it as PNG, SVG, PDF, or JPEG. Perfect for printing, embedding on a website, or sharing in presentations. Additionally, Creately’s presentation mode lets you present your timeline directly from the platform, without needing to export it—ideal for meetings, workshops, or classrooms.
Free Timeline Templates to Get Started


Some of the most common mistakes include:FAQs About How to Build a Timeline
What are the common mistakes to avoid when drawing a timeline in a visual platform?
Who can draw a timeline?
What is the best tool to make a timeline?
How can I make my timeline visually appealing?
Why are timelines important in project management?