Lean UX is a practical way to design and improve products faster. Instead of spending weeks creating detailed designs or long reports, it focuses on learning quickly through collaboration and small experiments. This guide will help you understand what Lean UX is, how it works, and how you can use it to build better experiences with your team. Whether you’re new to UX or just looking for a faster, more flexible approach, this is the perfect place to start.
What Is Lean UX?
Lean UX is a design process focused on continuous learning and improvement through quick experiments and user feedback. It emphasizes collaboration, rapid prototyping, and testing ideas early to validate what works before full development. Instead of spending weeks on detailed plans or heavy documentation, teams work together to test ideas early and adjust based on real user input.
Here’s what makes Lean UX different:
Focus on learning: The main goal is to understand what works for users, not just to produce design deliverables.
Collaborative approach: Designers, developers, and product managers work closely together from the start.
Quick experiments: Teams build simple prototypes, test them with users, and make improvements based on results.
Less waste: Inspired by Lean and Agile principles, it encourages doing only what adds value and cutting unnecessary work.
This cycle of build → measure → learn helps teams move faster, make decisions based on evidence, and create products that truly meet user needs.
The Lean UX Process: Think → Make → Check
The Lean UX process is simple but powerful. It helps teams move from ideas to tested solutions quickly by focusing on learning and improvement. Instead of following a strict plan, Lean UX teams use a flexible loop of Think → Make → Check to guide their work.
These 3 phases of Lean UX repeat every time you test a new idea. You learn something in each cycle and use it to make better decisions for the next one.
1. Think – Understand and Frame the Problem
The “Think” stage is about setting a clear direction before you start designing or building anything. You’re trying to answer questions like:
What problem are we solving?
Who are we solving it for?
What do we believe will work?
Here’s what usually happens in this step:
Understand the users: Review what you already know or do quick research to understand user needs and customer pain points.
Define goals: Align the team around what success looks like for both the user and the business.
List assumptions: Write down what you think is true about users, their problems, or potential solutions.
Create hypotheses: Turn assumptions into testable statements. For example:
“We believe that adding a ‘Sign in with Google’ option will help more users complete registration.”
This step sets a shared understanding for everyone on the team and helps you focus your next actions.
2. Make – Bring Ideas to Life Quickly
Once you know what you want to test, it’s time to make it real. The goal here isn’t to design something perfect—it’s to build something just good enough to learn from.
Here are a few ways teams do this:
Sketches or wireframes: Quick drawings to visualize ideas.
Clickable prototypes: Simple screens that users can interact with to simulate the experience.
Minimum viable products (MVPs): A small, working version of your idea to test in the real world.
Design slices: Focused pieces of functionality (like one feature) instead of a full product.
These quick, low-effort builds make it easier to get feedback early and avoid wasting time on features users don’t need.
3. Check – Test, Measure, and Learn
The “Check” stage is where learning happens. You test your prototype or MVP with real users and collect feedback or data to see if your idea actually works.
Some ways to test include:
Usability tests: Ask users to try your prototype and observe where they struggle or succeed.
A/B tests: Show two versions of something (like a button or screen) to see which one performs better.
Analytics: Track how users interact with your product using tools like Google Analytics or Mixpanel.
Guerrilla testing: Quick, informal testing sessions—like asking people in a café to try your design.
The key is to measure against your hypothesis. Did the change help users complete their goal? Did it make the experience easier? If not, what did you learn to improve next time?
Core Principles of Lean UX
Lean UX is guided by a few simple but powerful principles that shift the focus from creating design documents to creating real user value. These principles shape how teams work, learn, and make decisions together.
1. Learning over deliverables
The main goal isn’t to produce detailed wireframes, reports, or specifications—it’s to learn what works for users as quickly as possible.
Example: Instead of spending two weeks creating a full prototype, a team runs a quick user test with a simple sketch to validate an idea in a day.
2. Small batch testing
Work in small, testable pieces instead of waiting for big launches. This makes it easier to gather feedback and make improvements quickly.
Example: Release one feature to a small group of users first, gather insights, and adjust before rolling it out to everyone.
3. Cross-functional collaboration
Designers, developers, researchers, and product managers work together from the start. Decisions are made as a team, which reduces silos and misunderstandings.
Example: A designer and engineer collaborate on a quick prototype together, allowing faster iteration and fewer handoffs.
4. Shared ownership
Everyone on the team shares responsibility for the user experience and the outcomes—not just the design team.
Example: A developer suggests simplifying a form field after seeing users struggle, and the idea becomes part of the next design test.
Benefits of Lean UX
When teams apply Lean UX principles, they see measurable improvements in how they design and deliver products.
Speed: Working in short cycles helps teams release and test ideas faster, allowing for quick learning and iteration.
Better decisions: Continuous testing provides real evidence from users, helping teams make informed choices rather than relying on assumptions.
Less waste: Validating ideas early ensures teams spend time and resources only on features that truly add value.
Faster validation: Small, focused experiments make it easy to confirm what works before committing to full-scale development.
Comparison of Lean UX, Traditional UX, Design Thinking, and Agile UX
There are several popular approaches to designing user experiences. While they all aim to create better products for users, they differ in how they work, how fast they move, and how teams collaborate.
Traditional UX focuses on perfection before launch.
Design Thinking focuses on creativity and empathy.
Lean UX focuses on learning quickly and improving continuously.
Agile UX focuses on bringing design and development together for faster delivery.
All four approaches can complement each other—but Lean UX and Agile UX are best suited for teams that want to move fast, test often, and make data-driven decisions.
| Aspect | Traditional UX | Design Thinking | Lean UX | Agile UX |
| Main goal | Deliver detailed and polished designs | Understand user needs and solve problems creatively | Learn fast, reduce waste, and validate assumptions | Integrate UX seamlessly into Agile workflows |
| Approach | Sequential and documentation-heavy | Human-centered and exploratory | Experiment-driven and iterative | Continuous design within sprints |
| Process flow | Research → Design → Prototype → Test → Deliver | Empathize → Define → Ideate → Prototype → Test | Think → Make → Check | Sprint planning → Design → Build → Test → Review |
| Speed | Slow | Moderate | Fast | Fast |
| Focus | Deliverables, wireframes, and design accuracy | Creativity, empathy, and problem understanding | Learning and evidence-based validation | Collaboration, iteration, and delivery |
| Level of collaboration | Limited; designers often work in isolation | High; involves multiple disciplines | Very high; full team collaboration | Very high; embedded in Agile teams |
| Flexibility | Low; difficult to change mid-process | Medium; adaptable but still phase-based | High; quick adaptation to feedback | High; aligns with changing sprint priorities |
| Documentation | Heavy — detailed specs and reports | Moderate — visual and conceptual | Minimal — focus on outcomes over artifacts | Light — integrated within Agile tools |
| Output | Final design specifications | Prototypes and user insights | Validated learning and MVPs | Working, tested features |
| Best suited for | Waterfall projects with stable requirements | Early-stage innovation or problem definition | Fast-moving, uncertain projects | Agile teams building continuously evolving products |
How to Run a Lean UX Workshop
A Lean UX workshop helps your team understand a problem, define assumptions, and plan quick experiments to test ideas. It’s fast, hands-on, and focuses on collaboration, learning, and evidence-based decision-making rather than lengthy documentation.
Step 1. Set the stage (10–15 minutes)
Start by defining the purpose of the session.
What problem are you trying to solve?
What’s the goal of this workshop (e.g., validate an idea, improve a feature, identify user needs)?
Make sure everyone understands the challenge and the desired outcome.
Tip: Keep the group small (5–8 people) with designers, developers, product managers, and a facilitator.
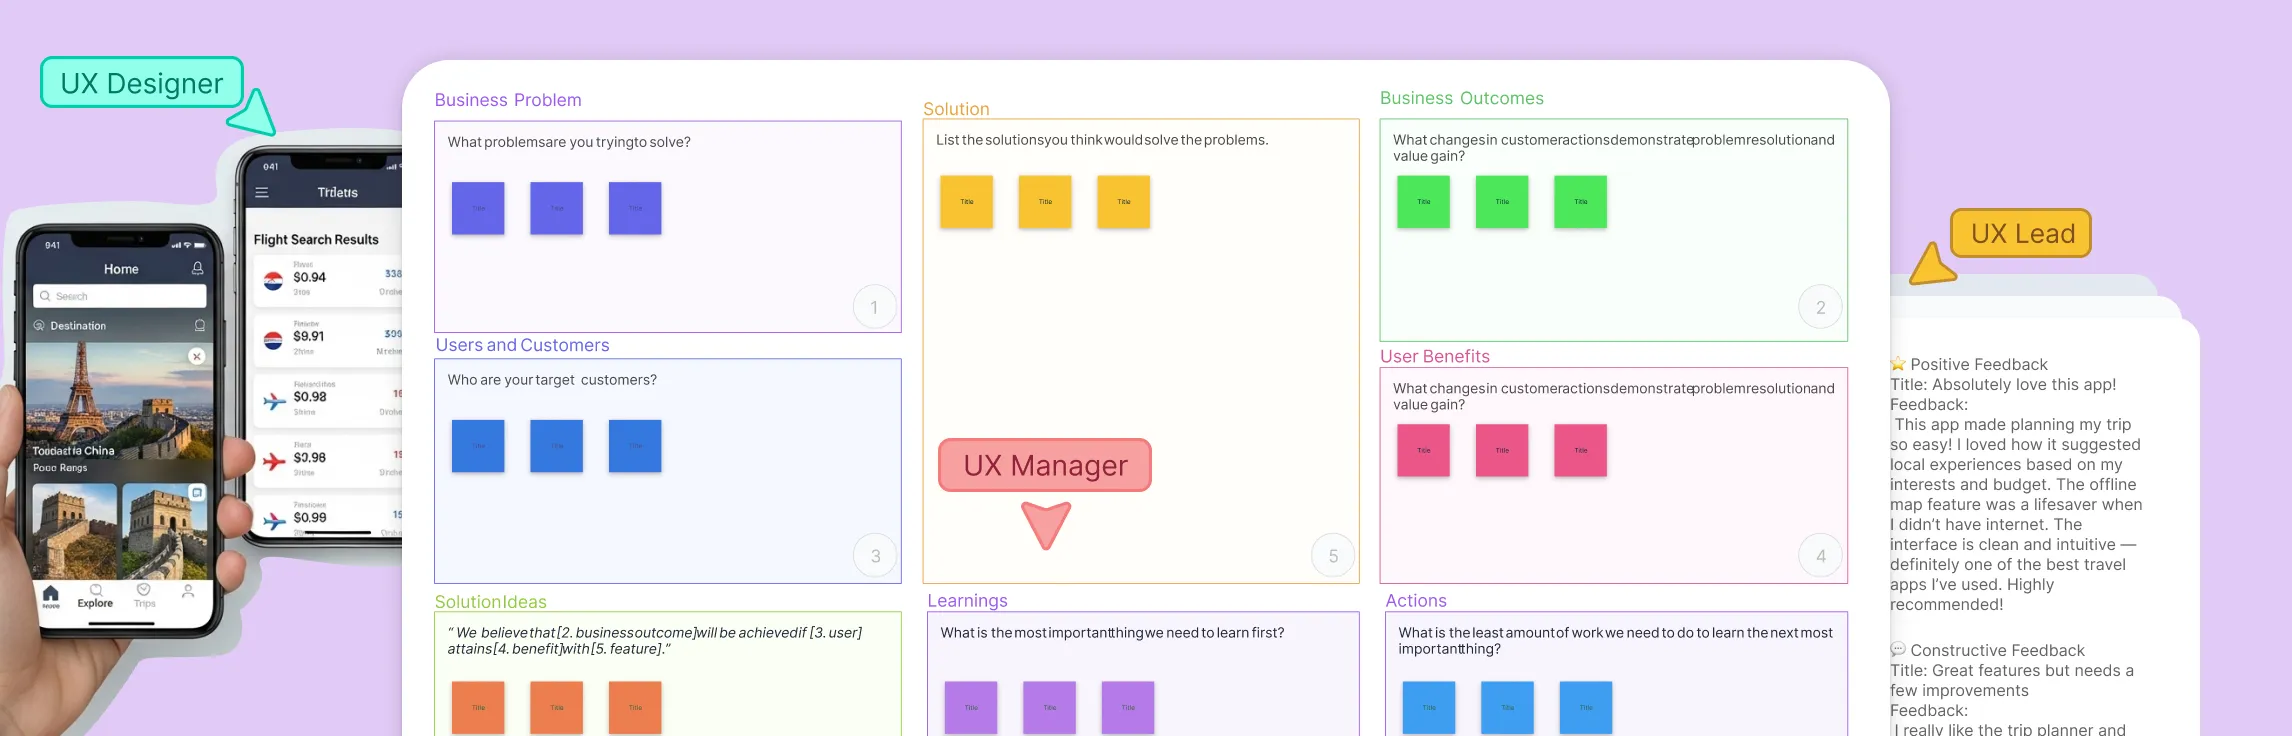
Use the Lean UX Canvas template to outline the business problem, goals, target users, assumptions, and hypotheses all in one place. Start by filling in the “Problem Statement” and “Business Outcomes” sections together as a team. This sets a shared focus for the workshop.


Step 2. Identify assumptions (15–20 minutes)
List all the assumptions your team has about users, their needs, and how your solution might help.
For example:
“Users will prefer a simpler onboarding flow.”
“People will share their progress if there’s a social feature.”
Then, group these assumptions into categories like user needs, product features, and business outcomes.
Use the Assumption mapping template to categorize assumptions based on their risk and certainty. Plot assumptions on a 2x2 grid to decide which ones you should test first.

Step 3. Turn assumptions into hypotheses (15–20 minutes)
Transform your assumptions into testable statements.
Use this simple format: “We believe that [doing this] for [this user] will result in [this outcome]. We’ll know this is true when we see [this measurable result].”
Example: “We believe that adding a one-click sign-up option for new users will result in higher registration rates. We’ll know this is true when sign-ups increase by 20% in one week.”

Step 4. Prioritize what to test (10 minutes)
Not all ideas need testing right away.
Use a simple prioritization matrix based on:
Impact: How much could this improve the user experience or business outcome?
Effort: How long or complex is it to test?
Start with high-impact, low-effort ideas first.
Impact-effort matrix: Visualize which experiments to start with. Place your hypotheses on the grid and focus on the “Quick Wins” quadrant first.

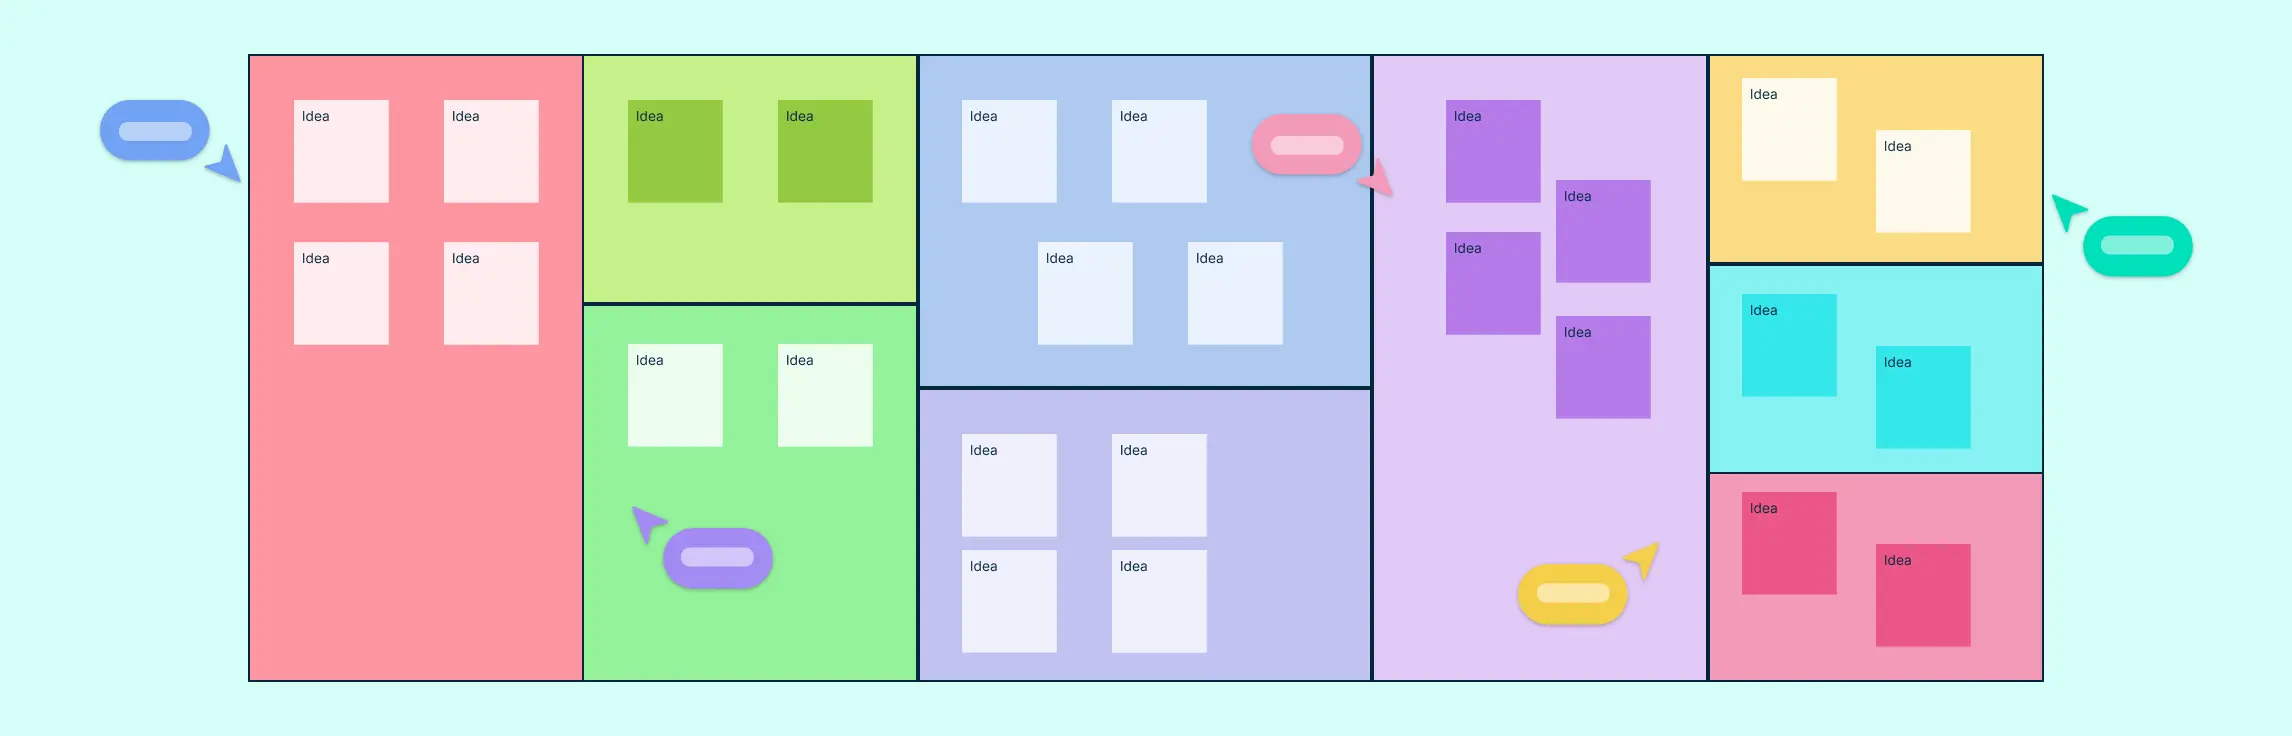
Step 5. Sketch and ideate (20–30 minutes)
Now, start visualizing your ideas. You can:
Draw quick sketches or wireframes
Use sticky notes or whiteboards
Create simple digital mockups
The goal isn’t to make it look perfect—it’s to communicate ideas quickly so the team can align.
Crazy 8s sketching template: Helps everyone rapidly sketch 8 ideas in 8 minutes. Give each participant a section to sketch their ideas. Then, review and combine the best concepts into one or two prototype directions.

Step 6. Plan experiments (20–30 minutes)
Decide how you’ll test your top hypotheses. Common Lean UX experiments include:
- Landing page test: See if users engage with a new concept.
- Prototype test: Watch how users interact with a clickable prototype.
- A/B test: Compare two design versions.
- Interview or survey: Get direct feedback from users.
Document each test’s goal, method, timeline, and success metric.
Experiment canvas template: Helps record what you’re testing, how you’ll test it, and what success looks like. Fill in experiment goals, metrics, timelines, and responsible team members. Use this to keep experiments manageable and measurable.

Step 7. Wrap up and next steps (10 minutes)
End by summarizing what the team agreed on:
Which hypotheses you’ll test first
Who’s responsible for each experiment
When you’ll review results
Make sure everyone leaves with a clear plan for action.
Action plan template: Keep track of experiments within your Agile sprint cycles. Convert top experiments into tasks with deadlines and assign owners to ensure follow-up.

Track your success using metrics like: The goal isn’t perfect results—it’s faster, data-backed learning.FAQs About Lean UX
What is the main goal of Lean UX?
How does Lean UX fit into Agile development?
What are some common Lean UX experiments?
Why choose Creately to run your Lean UX workshop?
What are common mistakes to avoid in Lean UX?
How can I measure success in Lean UX?