Accessing the Contextual Toolbar

The contextual toolbar provides an array of customizations that help you diagram and visualize easier. Let’s take a look at some of the things you can do using the contextual toolbar.
Getting Started
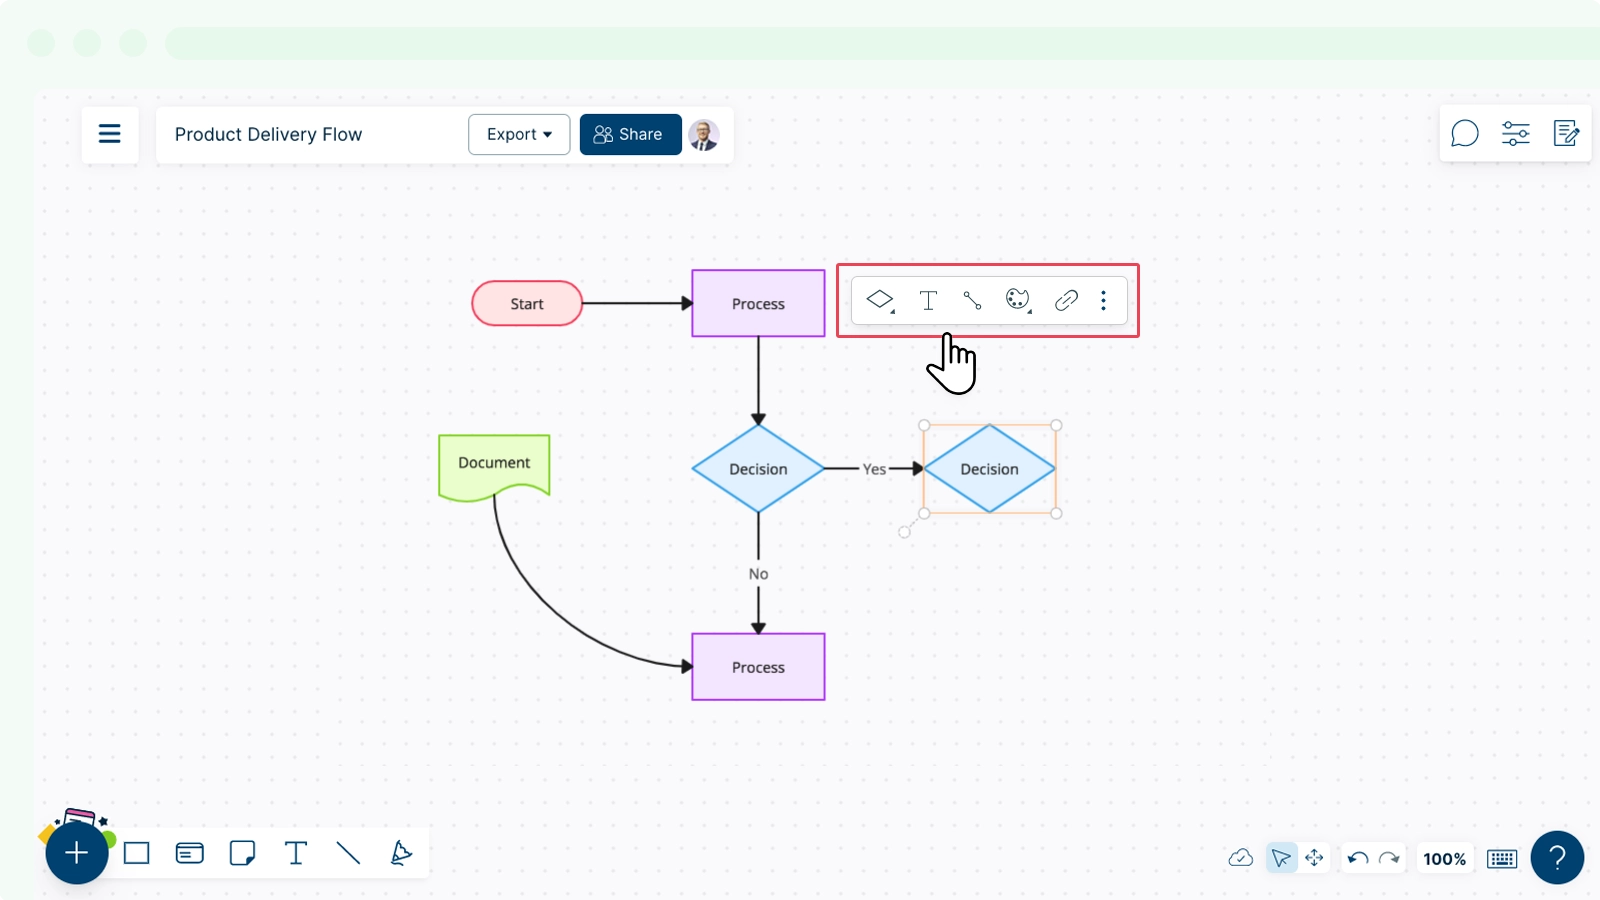
The contextual toolbar is a quick-access visualization option that shows up whenever you select a shape on the canvas as follows:
Switching Between Shapes
You easily switch between shapes directly on the canvas by following these simple steps:
- Select the relevant shape you wish to make changes to.
- Hover over the Switch Shape option from the contextual toolbar.
- Select your preferred shape from the drop-down menu to make the switch.
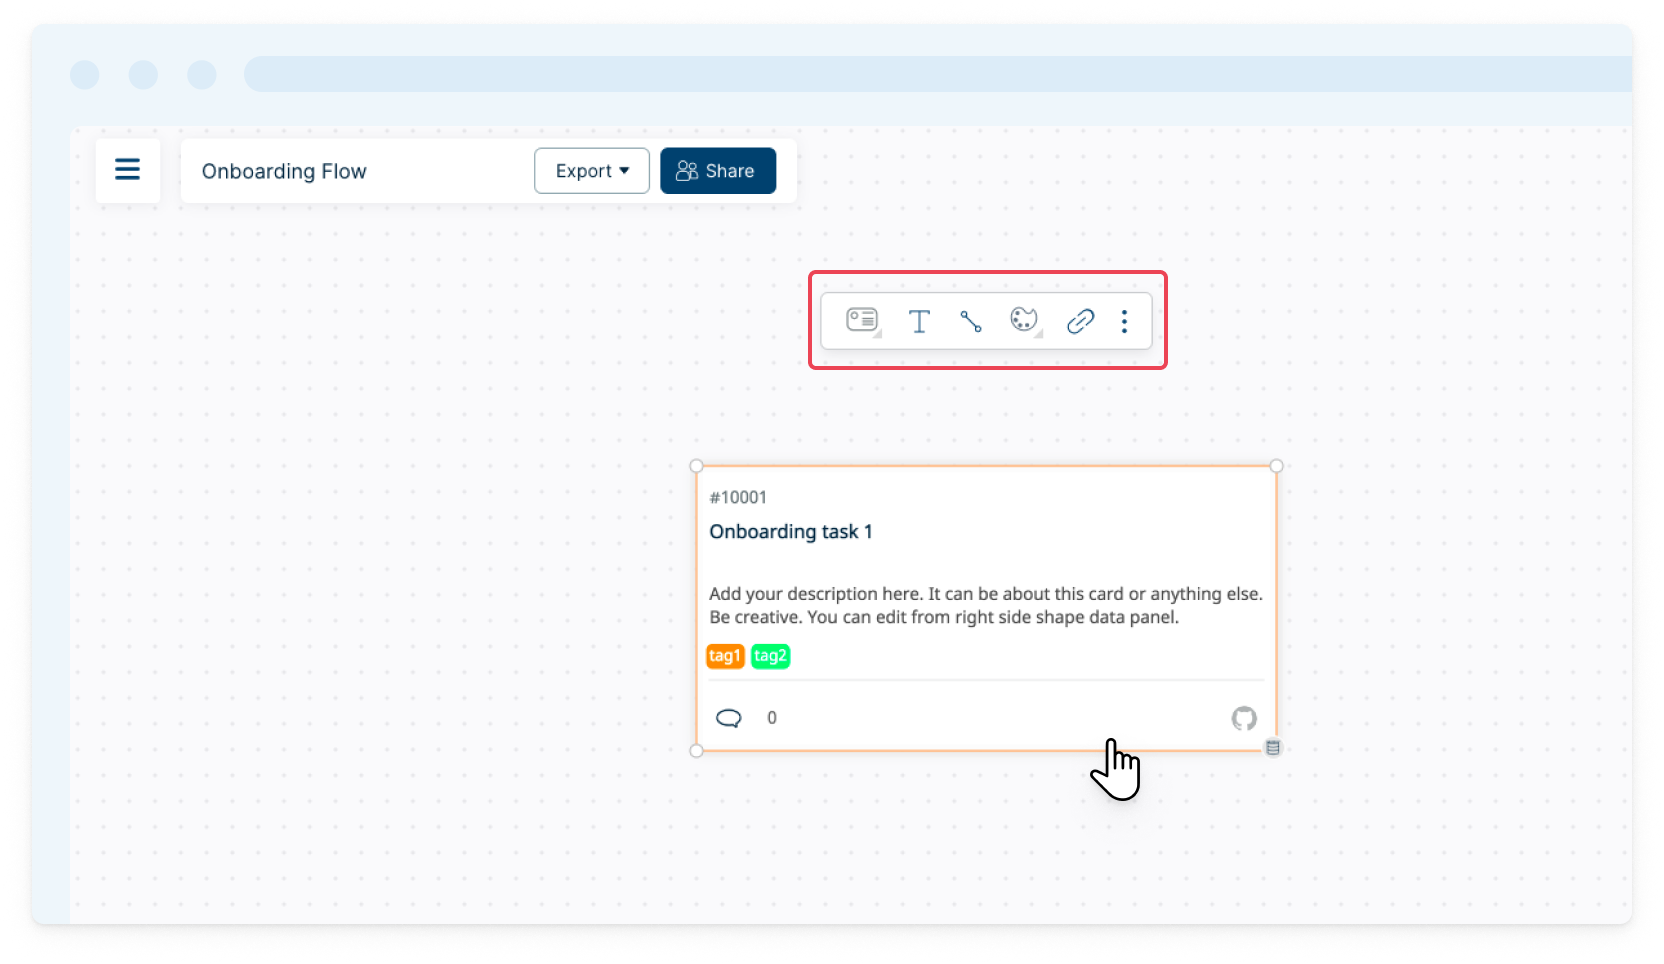
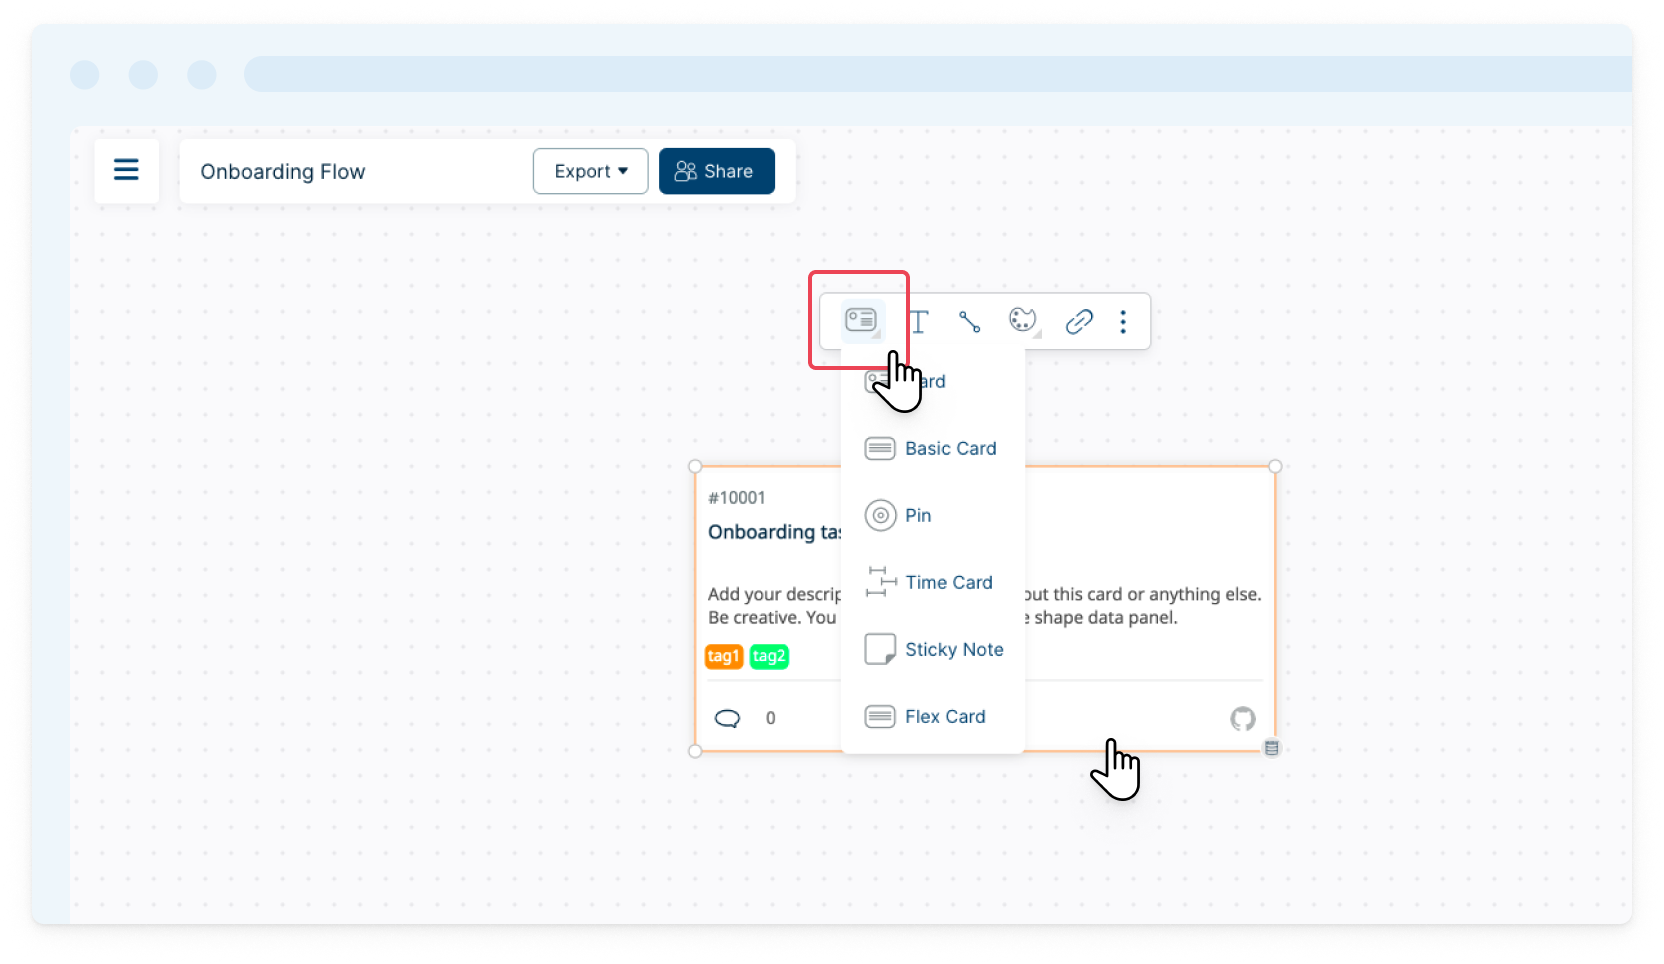
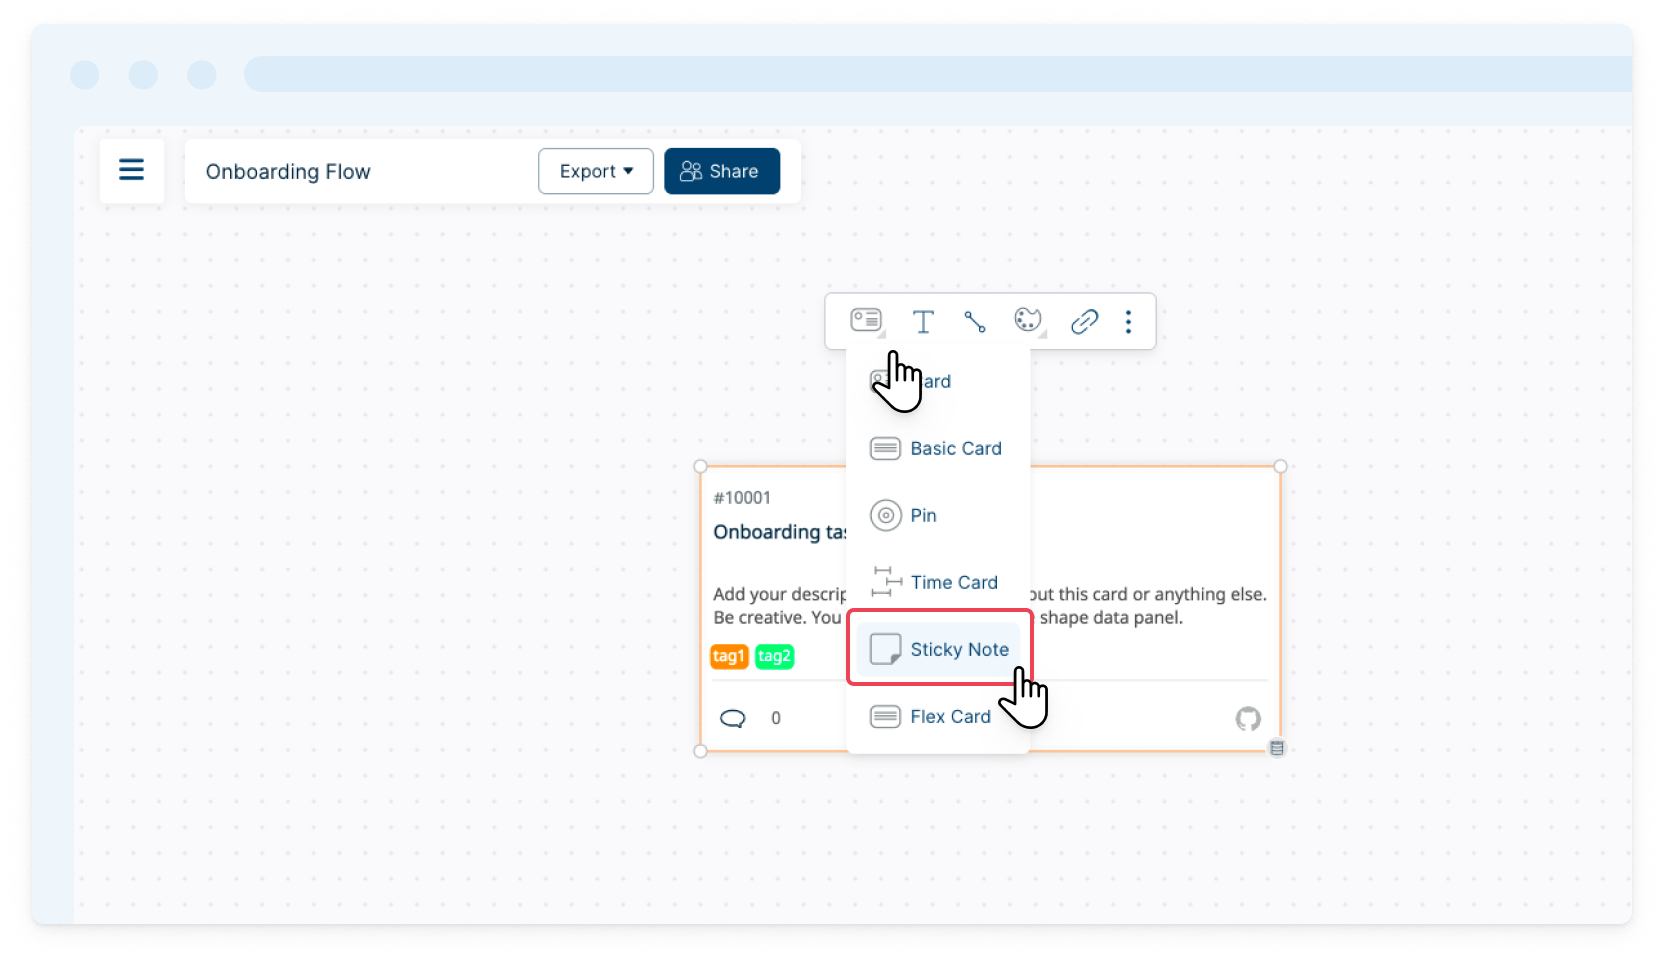
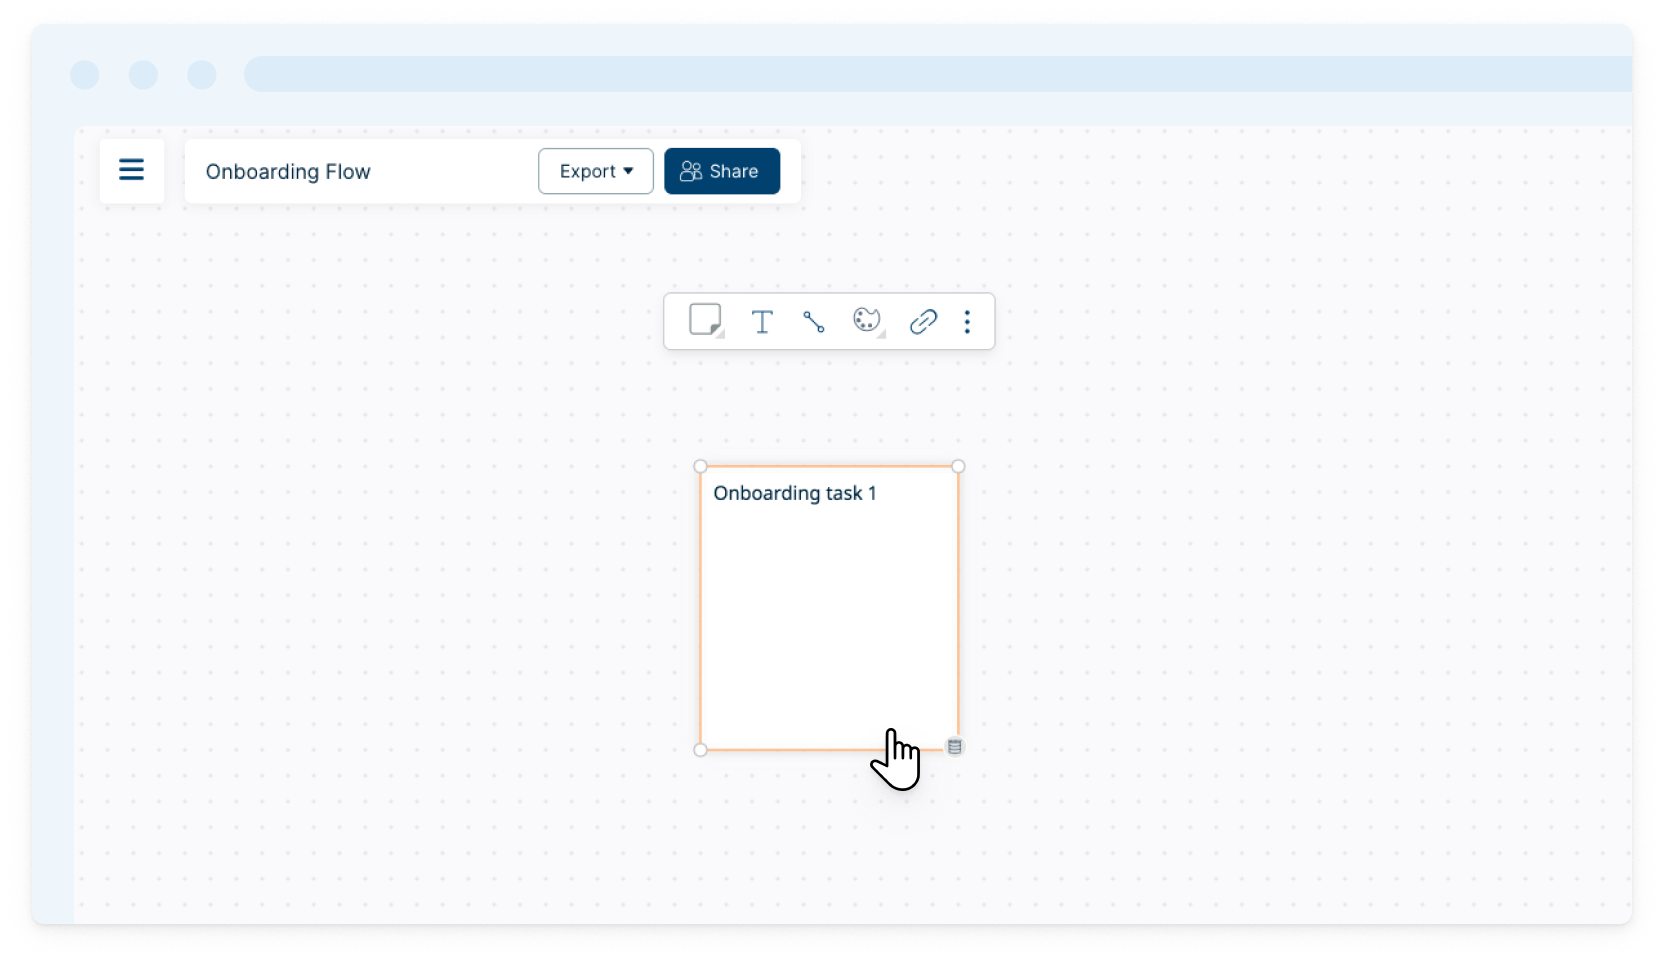
Note: These shape options appear according to the shape category you are using (Flowchart, Mindmaps, Basic Shapes, BPMN, etc).
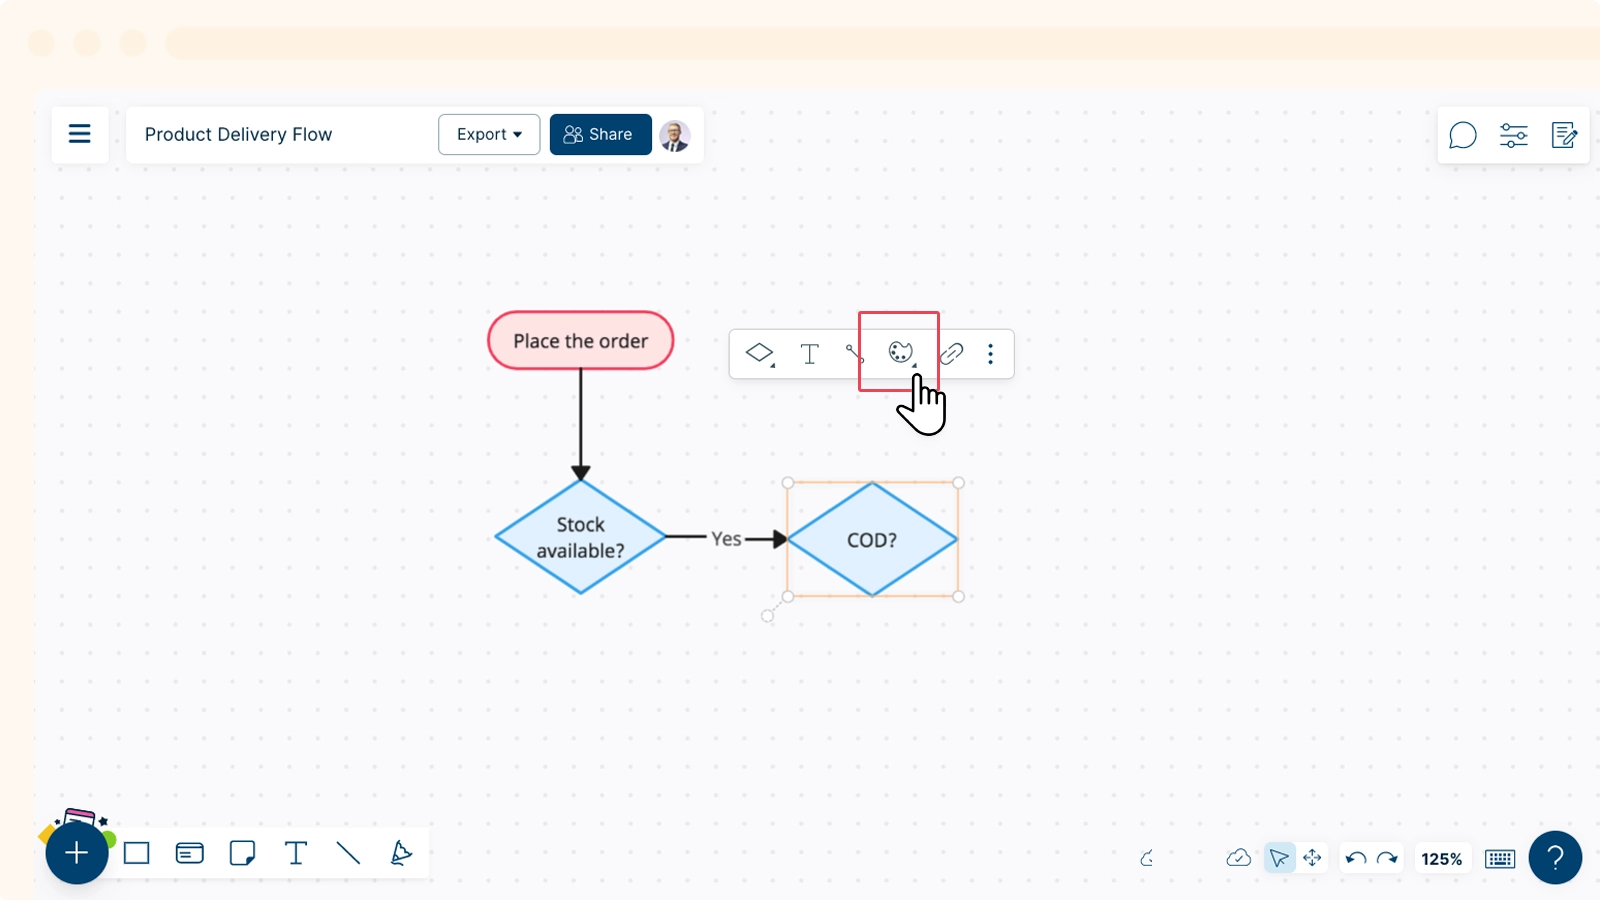
Changing Shape Color
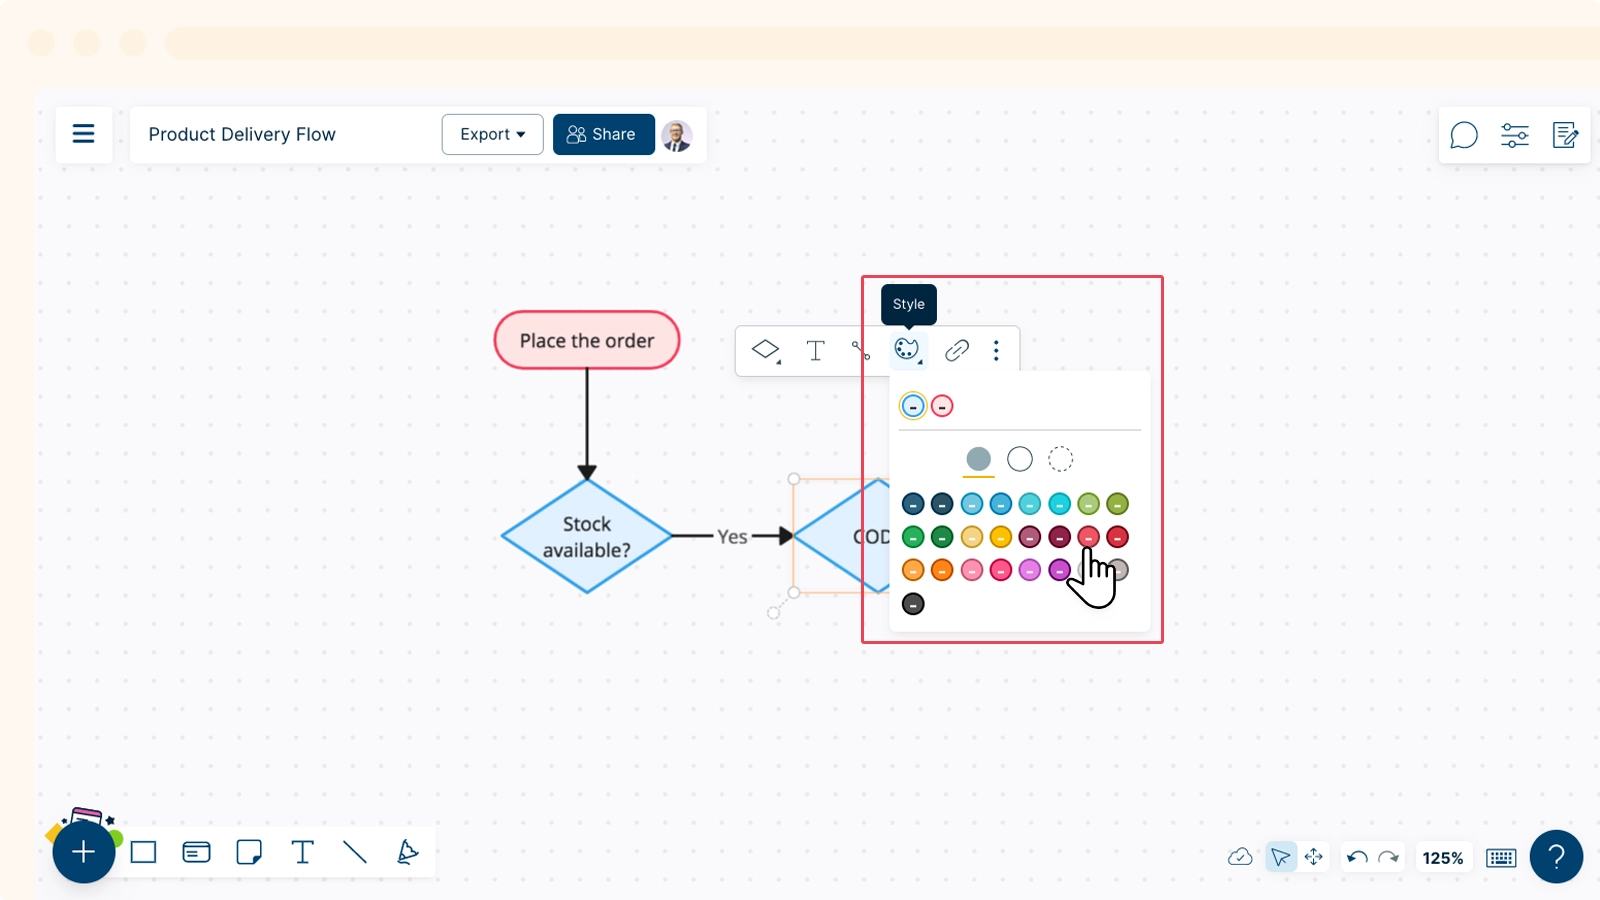
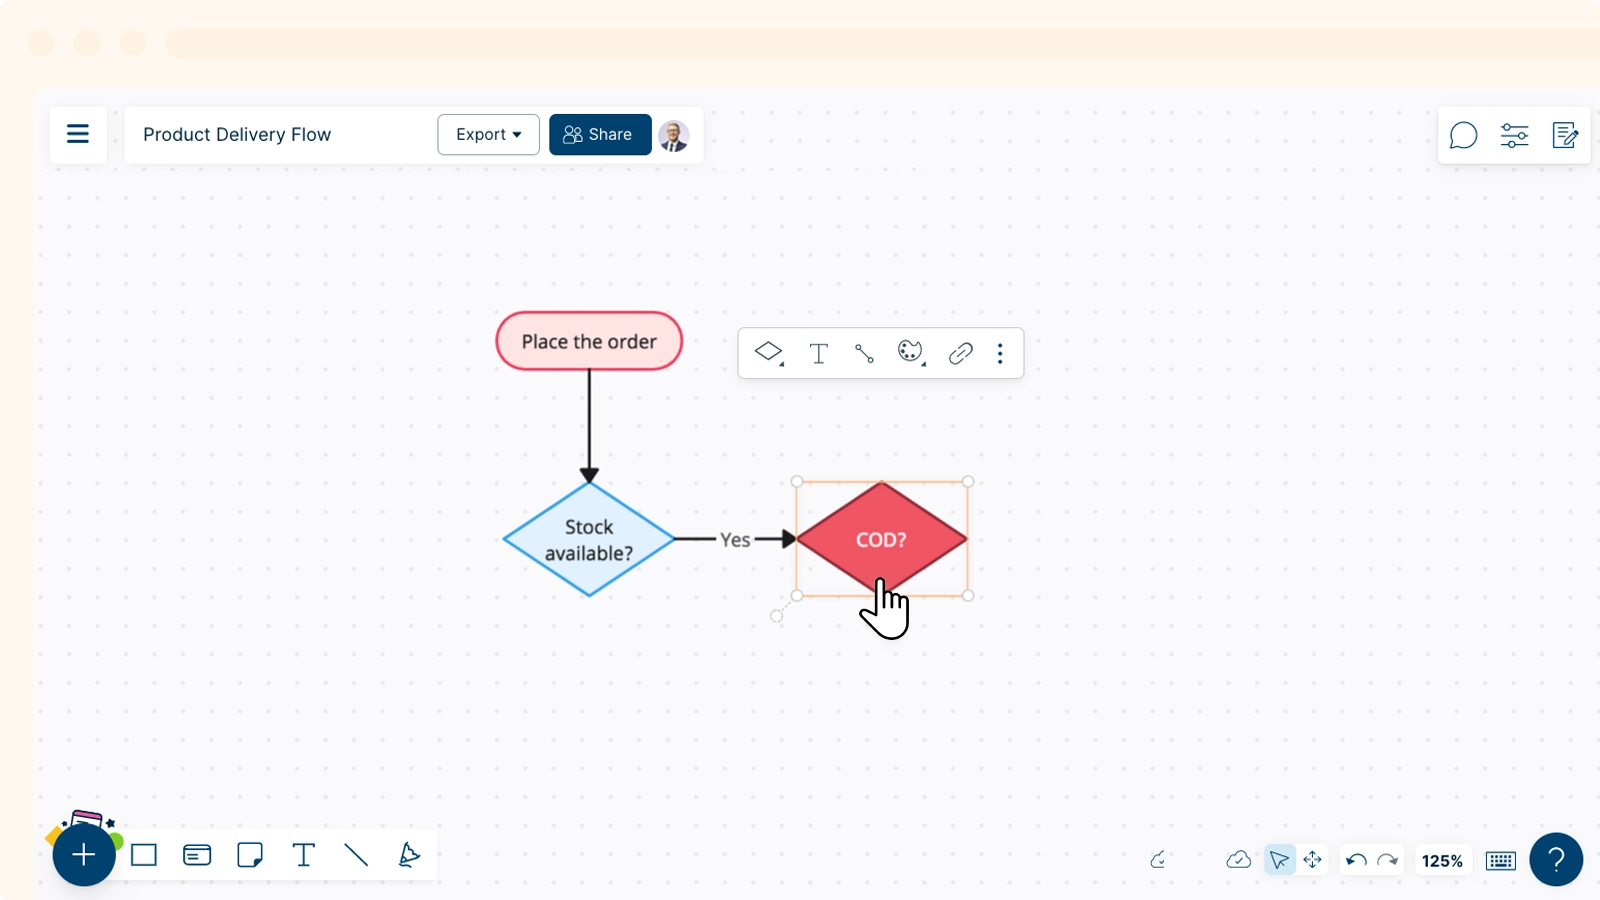
Select the color option to quickly change the color of your shape from a set of handy presets. For more advanced color and styling options you can access the Shape Property panel.
Adding Text & Hyperlinks
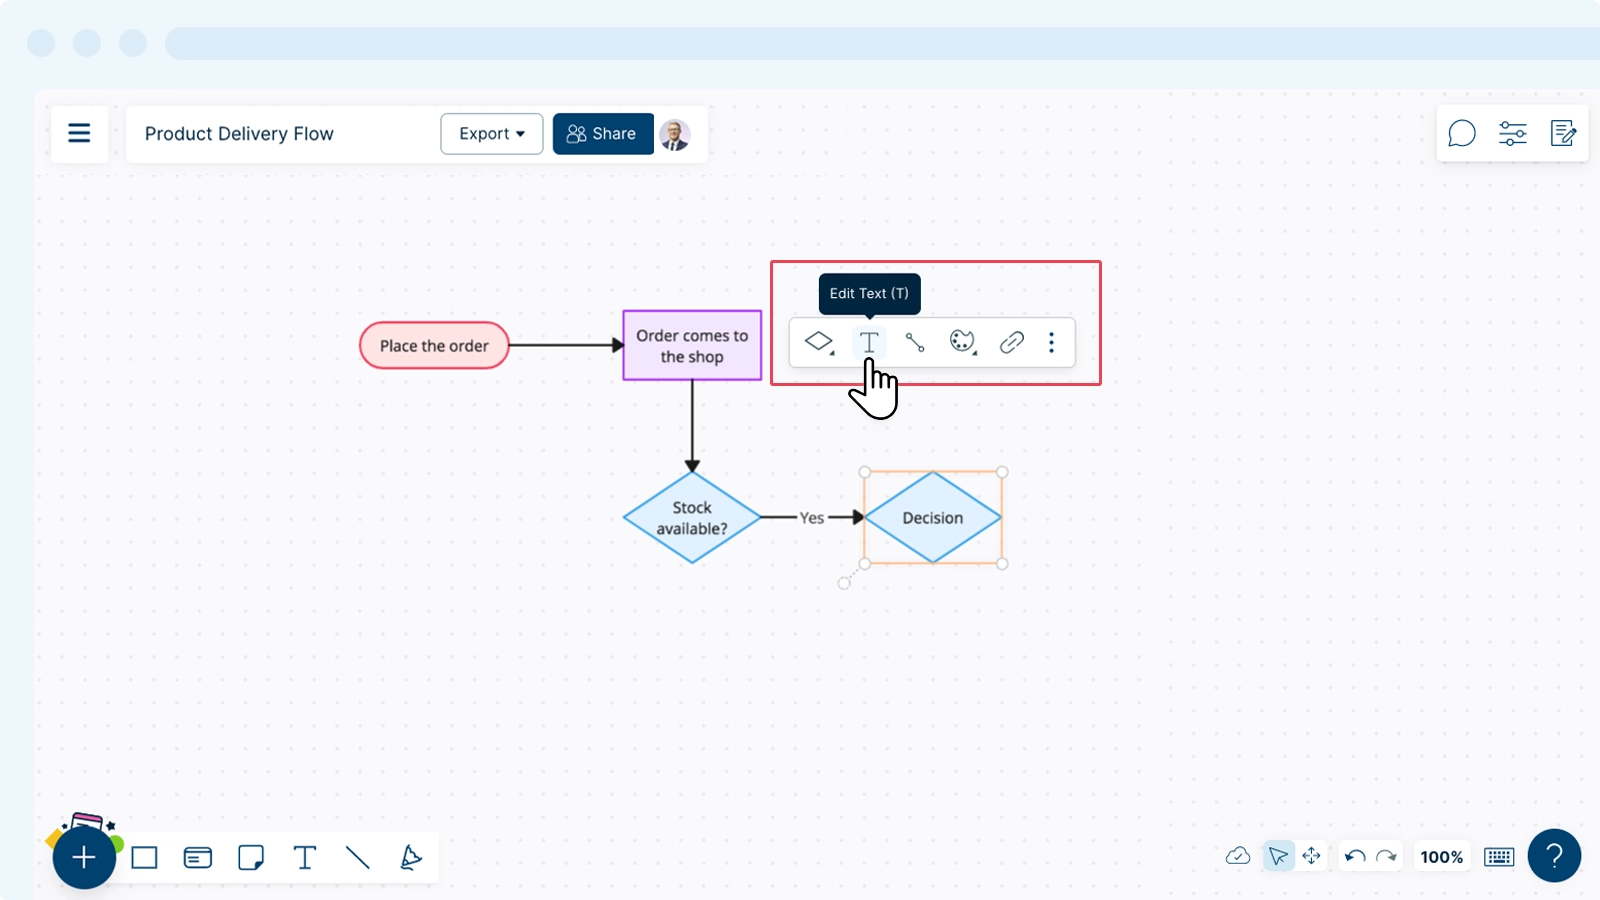
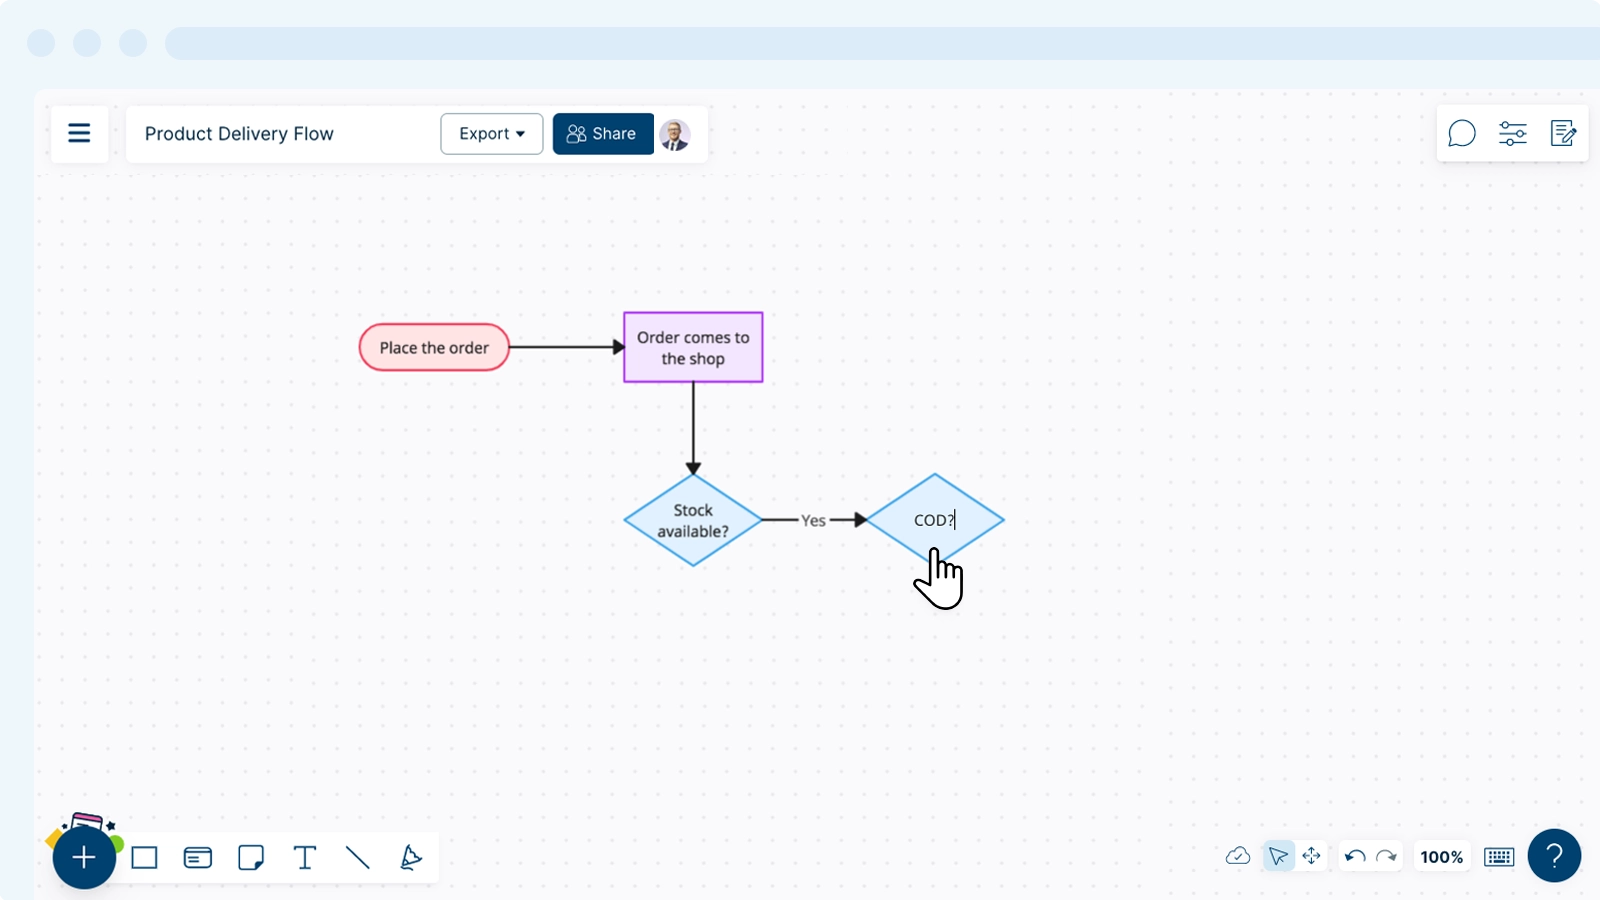
To add text to a shape simply double click inside the shape and start typing or select the from the contextual toolbar.
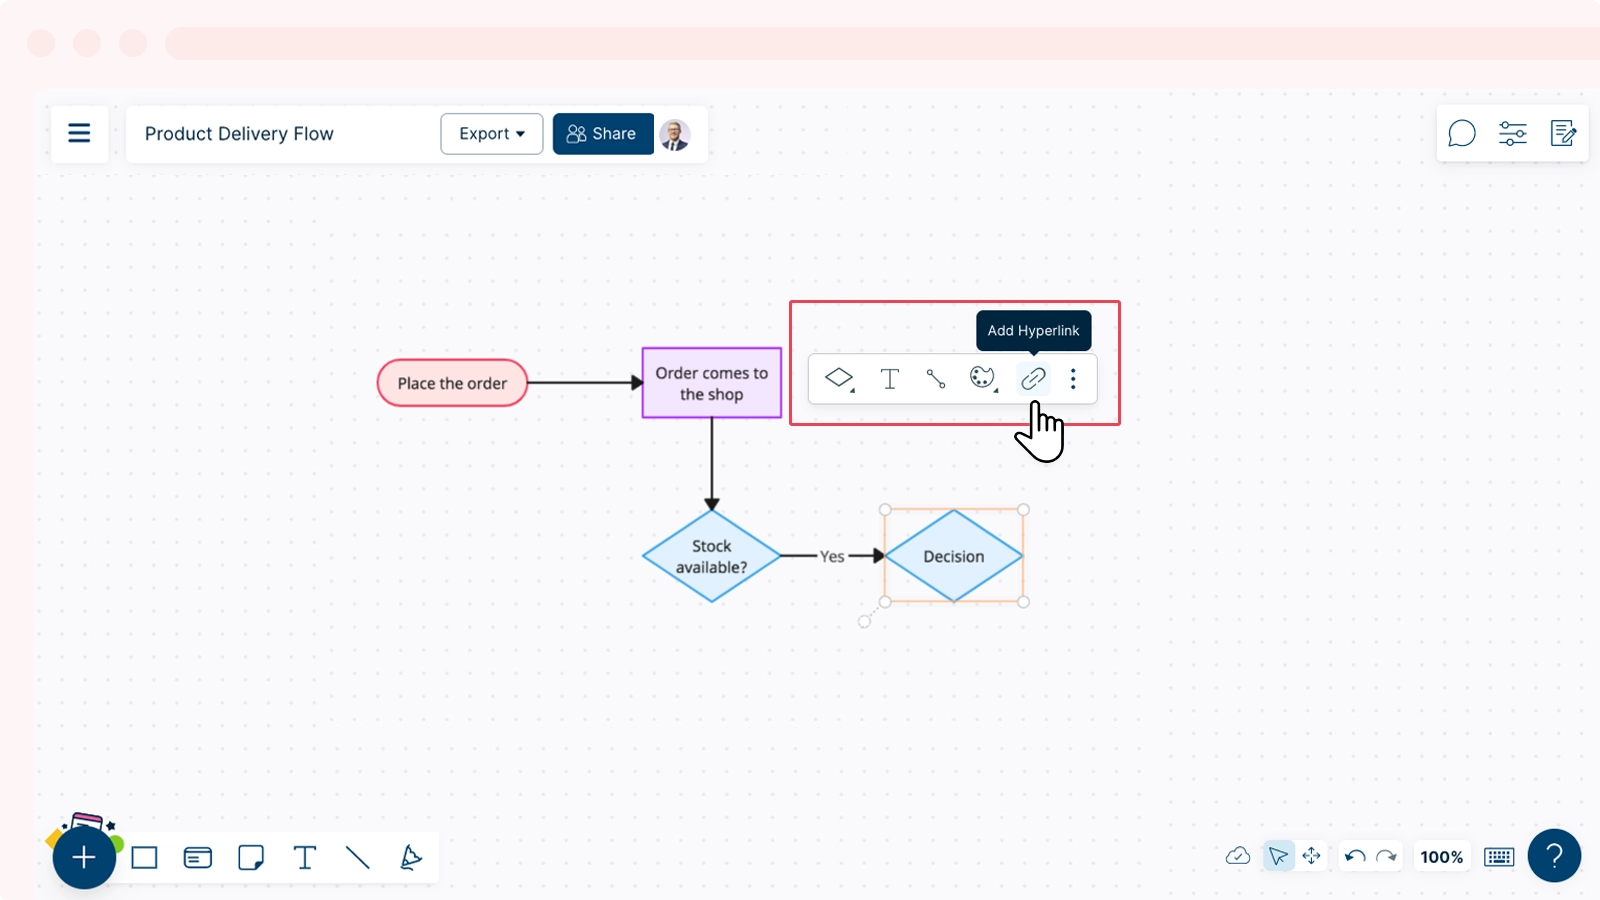
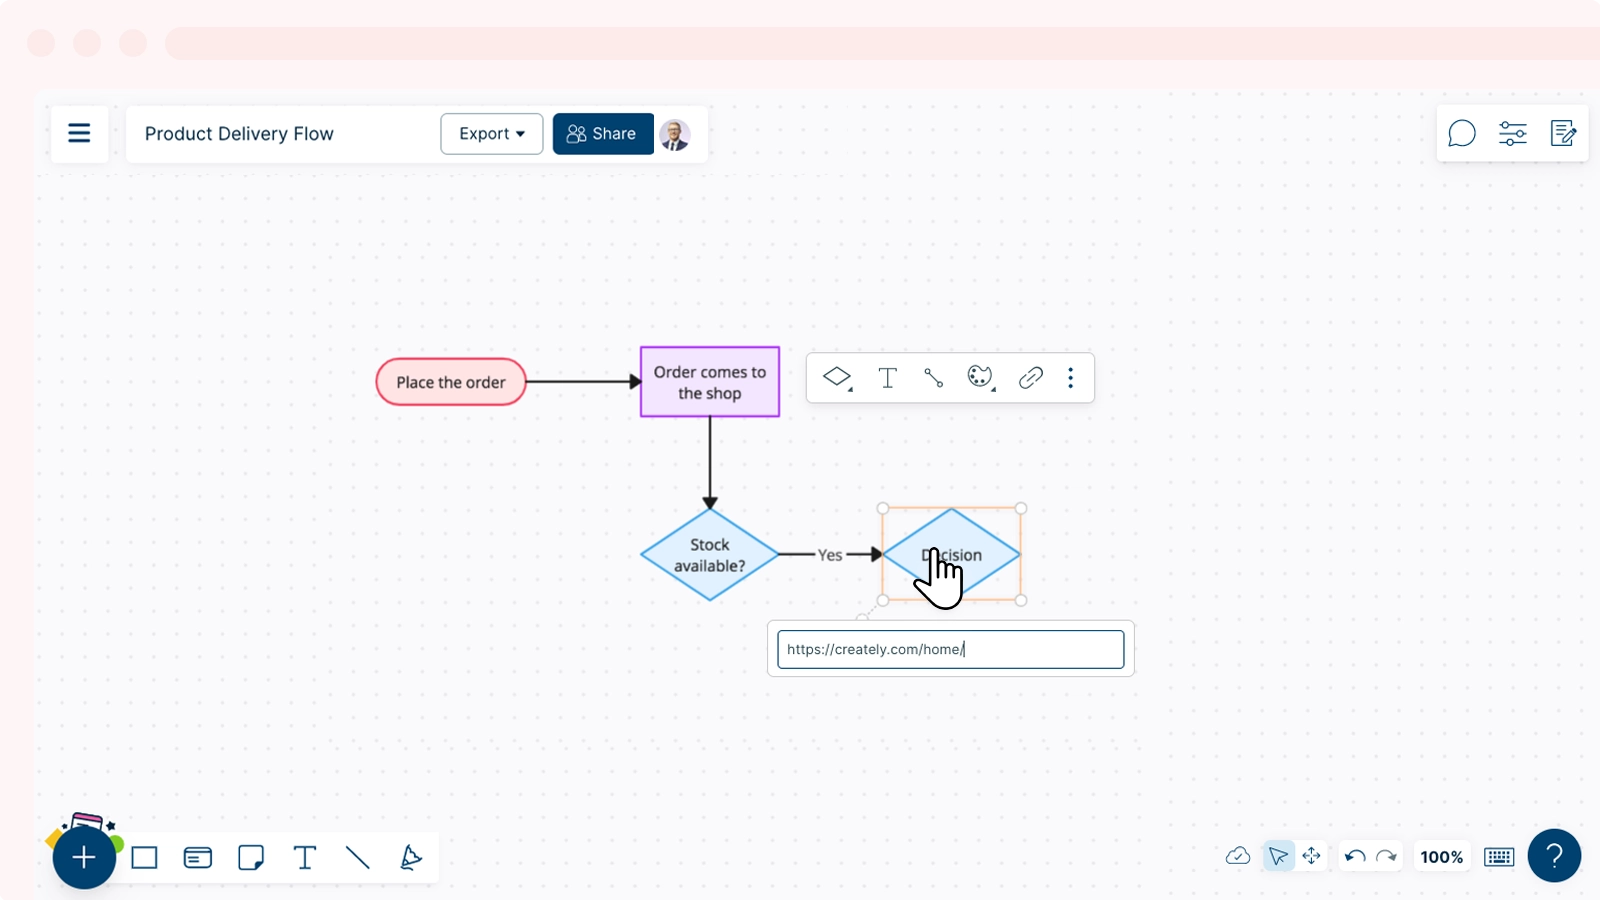
Adding a Hyperlink to a Shape
- Click on the shape.
- Click on the
Add Hyperlink icon in the contextual toolbar that appears on top of the shape.
- Enter the link in the text box that appears.
Moving Objects Between Layers
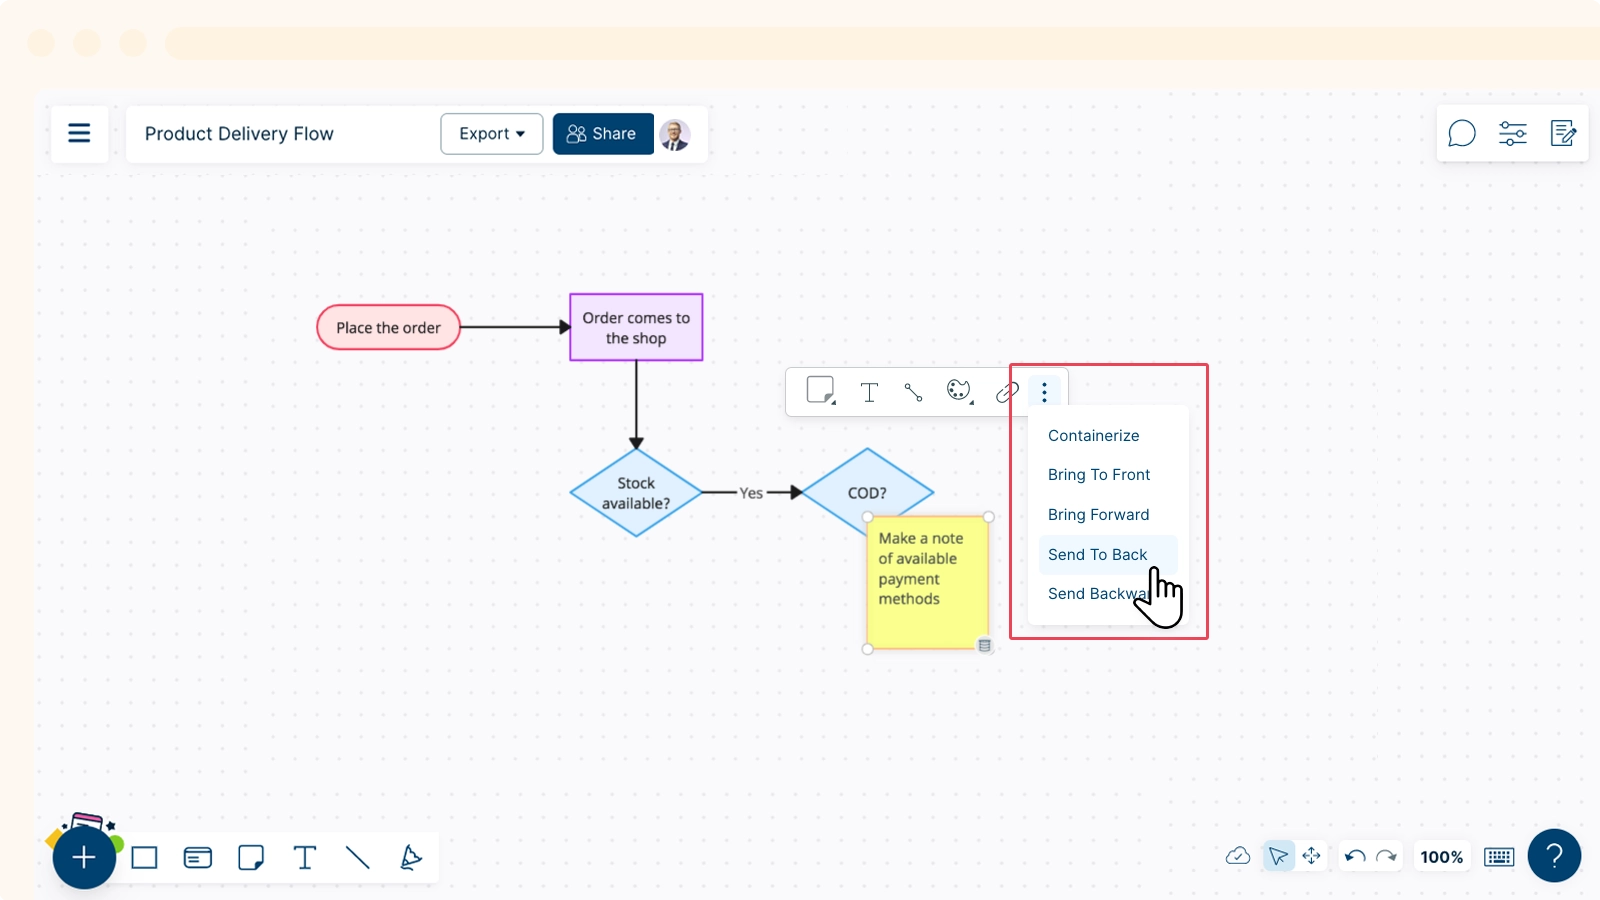
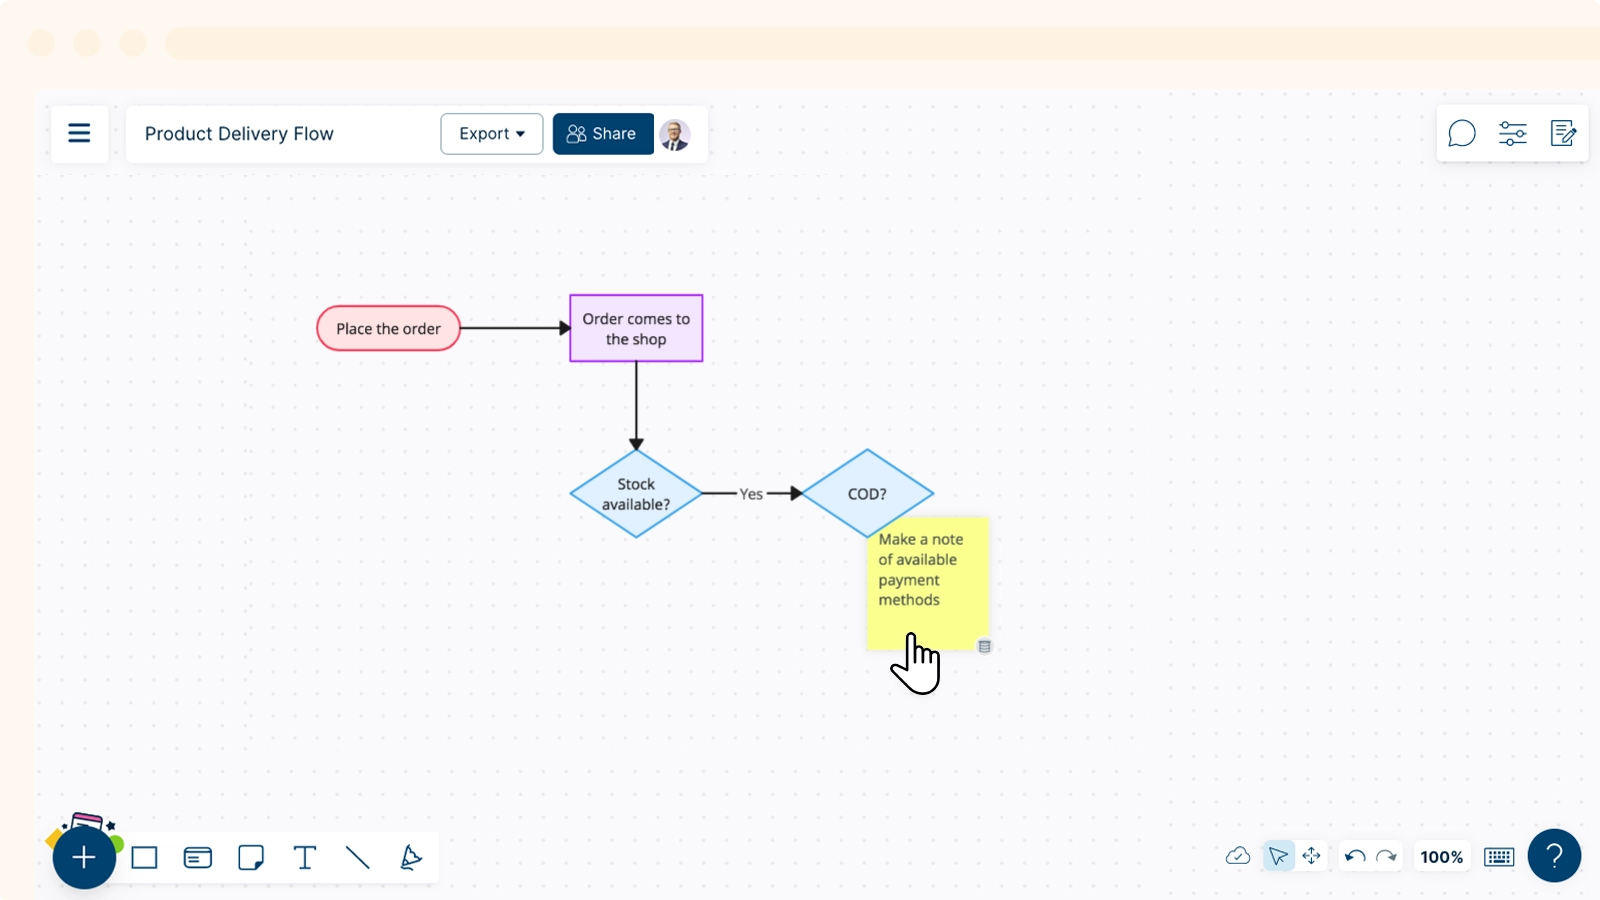
You can send shapes to different layers on the canvas by accessing the menu on the contextual toolbar. From here you can:
- Bring to Front - This allows you to bring the selected shape to the very top by-passing all the shapes that were above it.
- Send to Back -This option sends the selected shape to the very back behind all the shapes that were below it.
- Send Backwards - When you select this, the selected shape is sent behind the shape that is just underneath it.
- Bring Forward - You could use this when you want to bring a shape in front of the shape that is just above it.
